
That flickering or blank screen is a massive pain, I get it. It stops your work or gaming dead in its tracks. But before you panic, the fix might be staring you right in the face—and it's often a lot simpler than you think. A proper computer monitor repair process always starts with the basics, like a wiggled-loose power cable or the monitor being on the wrong input.
Checking these simple things first can save you a ton of time and, more importantly, the cost of a trip to a local repair shop in your area.
Is Your Monitor Really Broken?
When your screen goes dark, it's natural to assume the worst. "Great," you think, "time to buy a new monitor." But hold on. Before you start browsing for deals or searching for "computer monitor repair near me" in your city, a few quick checks are in order. A surprising number of "broken" monitors are just dealing with simple, fixable glitches.
The goal here is to figure out if you're looking at a minor hiccup or a genuine hardware failure. Those annoying flickers, a few dead pixels, or the classic "no signal" message can often be traced back to a dodgy cable, a weird setting, or a driver that needs updating. These are problems you can often solve yourself in under five minutes, no special tools required.
Your First Five Minutes Of Troubleshooting
Don't overcomplicate things right out of the gate. Start with the most obvious culprits and work your way up. A methodical approach is your best friend here; it keeps you from getting frustrated and helps you nail down the real source of the problem.
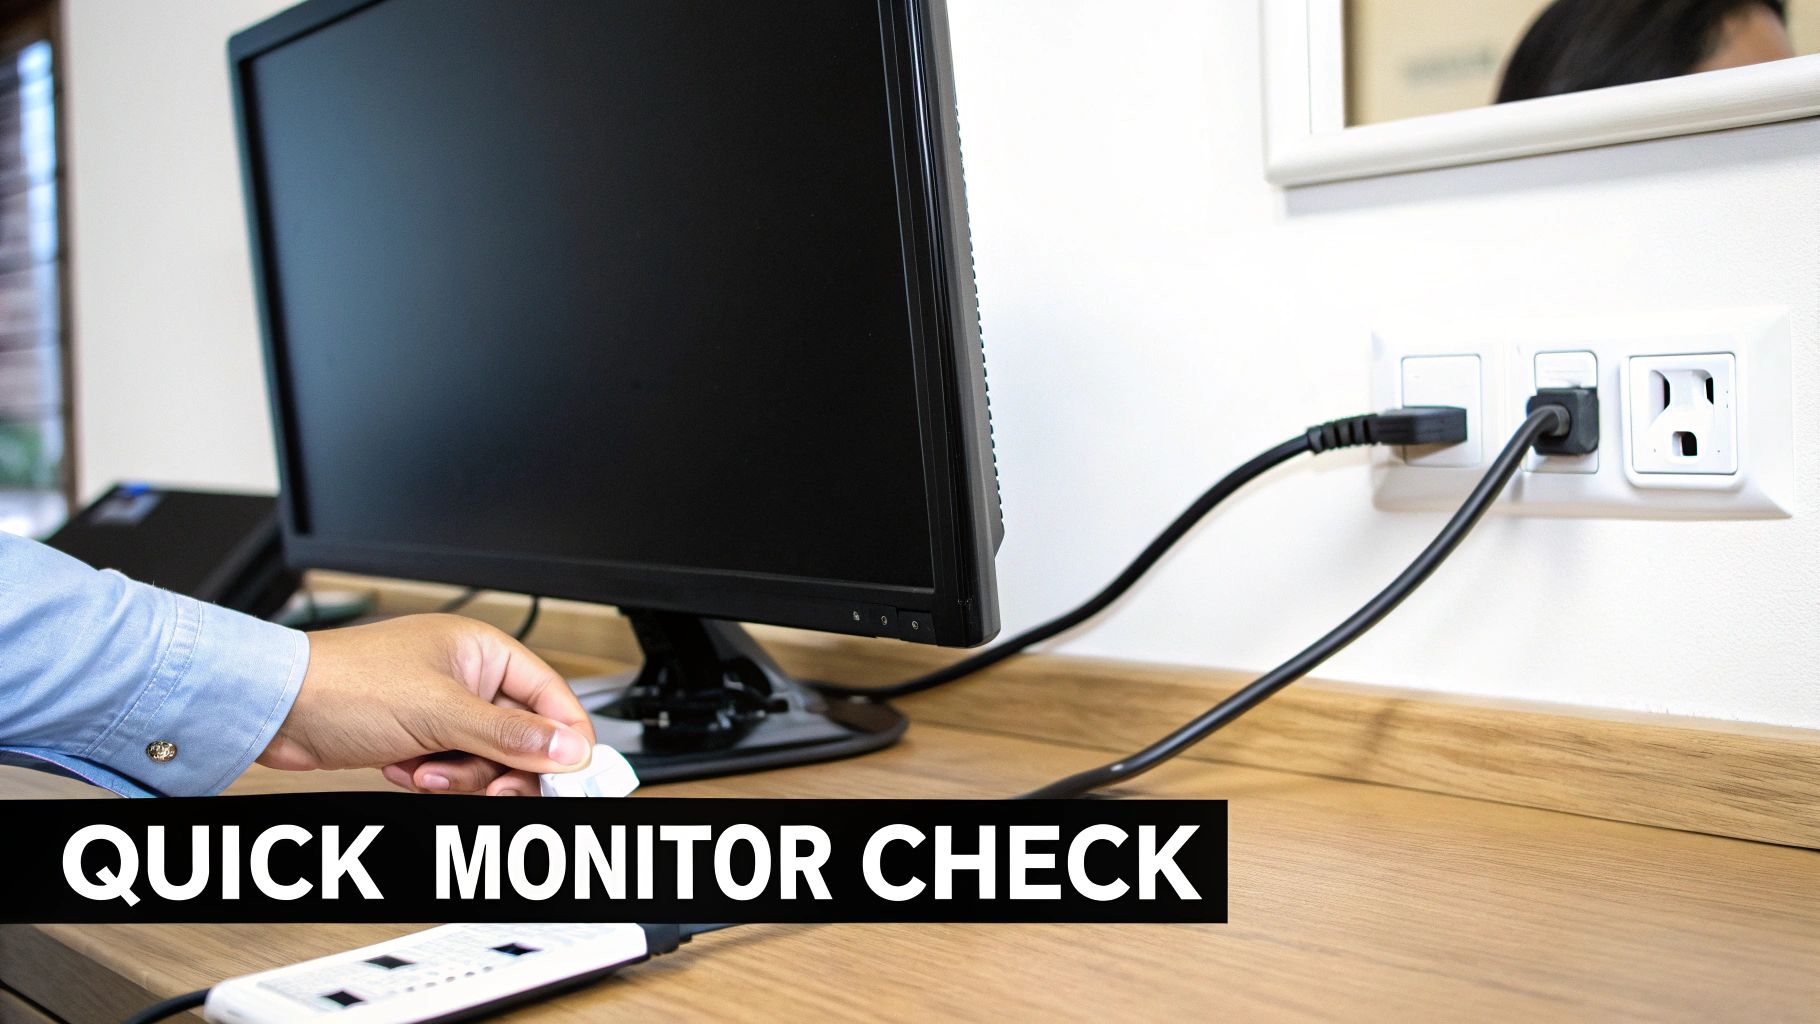
- Check All Physical Connections: Make sure the power cord is pushed in firmly, both at the back of the monitor and into a working wall outlet. Do the same for the display cable (HDMI, DisplayPort, etc.)—ensure it's securely connected to your monitor and your computer's graphics card. A loose cable is the number one cause of display issues.
- Confirm the Correct Input Source: Most modern monitors have multiple inputs. Use the physical buttons on the monitor itself to cycle through the sources (e.g., HDMI 1, HDMI 2, DP) until it matches the port your cable is plugged into. It's an easy thing to overlook.
- Test with Another Device: This is the definitive test. Grab a laptop or another computer and plug the monitor into it. If the screen lights up and works perfectly, the problem isn't your monitor—it's your original computer. For more on that, check out our guide on how to fix the computer when it's not sending a signal.
This troubleshooting flowchart gives you a great visual path for tackling these initial steps before you even think about calling for professional local help.
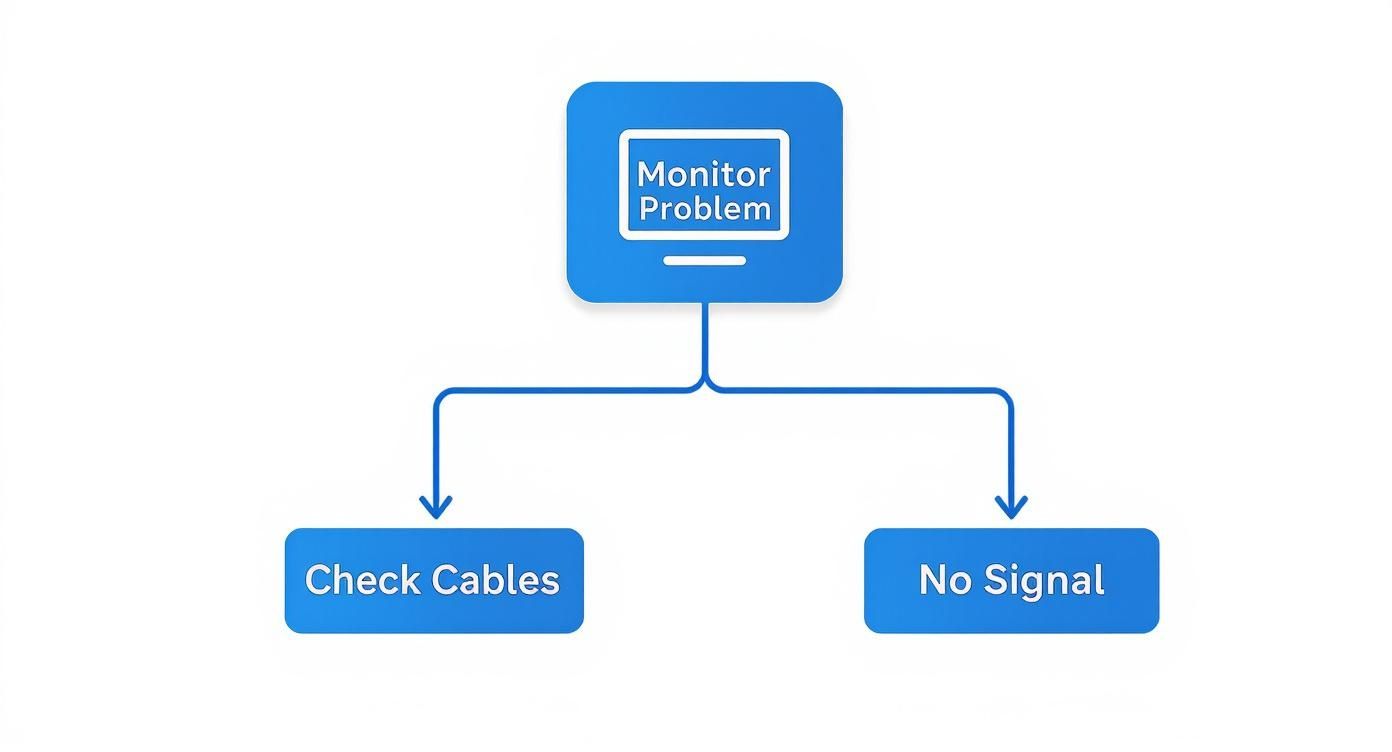
As you can see, the chart really drives home the point: simple cable and signal checks solve a huge number of display problems without ever needing to open up the monitor.
To give you an idea of how common this is, consider that in California, consumer electronics like monitors make up about 35% of the entire electronic equipment repair industry. That's a huge slice of a market worth around $1.5 billion. It just goes to show how often people from San Diego to Sacramento run into these exact kinds of issues.
For a quick reference, here's a breakdown of the most common things I see and where to start looking.
Common Monitor Problems and Quick Checks
| Symptom | Potential Cause | First Action to Take |
|---|---|---|
| No Power | Loose power cable; faulty outlet; internal power supply failure. | Check that the power cable is secure at both ends and try a different wall outlet. |
| "No Signal" Message | Incorrect input selected; loose display cable; graphics card issue. | Use the monitor's buttons to cycle through all inputs (HDMI, DP, etc.). Reseat the display cable. |
| Flickering or Flashing | Bad display cable; incorrect refresh rate; driver issues. | Try a different, known-good cable (HDMI or DisplayPort). Update your graphics drivers. |
| Dead or Stuck Pixels | Manufacturing defect; physical damage. | Gently wipe the screen. If persistent, this often requires professional repair or replacement. |
| Dim or Dark Screen | Backlight failure; incorrect brightness settings. | Use the monitor's on-screen menu to check the brightness and contrast settings first. |
This table should help you quickly diagnose the issue and point you toward the most likely solution before you dive any deeper.
Troubleshooting Common Monitor Glitches
If the quick checks didn't magically bring your screen back to life, it's time to roll up our sleeves and investigate the usual suspects. These next steps are safe, easy enough for anyone to try, and often get right to the heart of what's causing your monitor headaches. We'll tackle the most frequent glitches one by one.
The whole game here is about isolation. By testing each link in the chain, you can systematically figure out what isn't the problem. Think of it like a detective story for your desk. While this link discusses websites, the same general troubleshooting principles apply—rule out the simple stuff first to see if your monitor is truly the culprit.
The Monitor Refuses To Power On
A screen that's completely dead is usually a straightforward power issue. Before you jump to conclusions and assume the monitor’s internal power supply is toast (which is a job for a professional computer monitor repair technician), let's make sure electricity is actually getting to it.
Start with the power button. Give it a firm, deliberate press for a few seconds. Sometimes a quick tap just doesn't cut it. Next, physically trace the power cord from the wall outlet all the way to the back of the monitor. Make sure both ends are snug; a cable can look plugged in but be just loose enough to cause a problem.
If that doesn't work, test the outlet itself. The easiest way is to plug in something you know works, like a lamp or a phone charger. If it doesn't light up, you've found your culprit, and your monitor gets a clean bill of health.
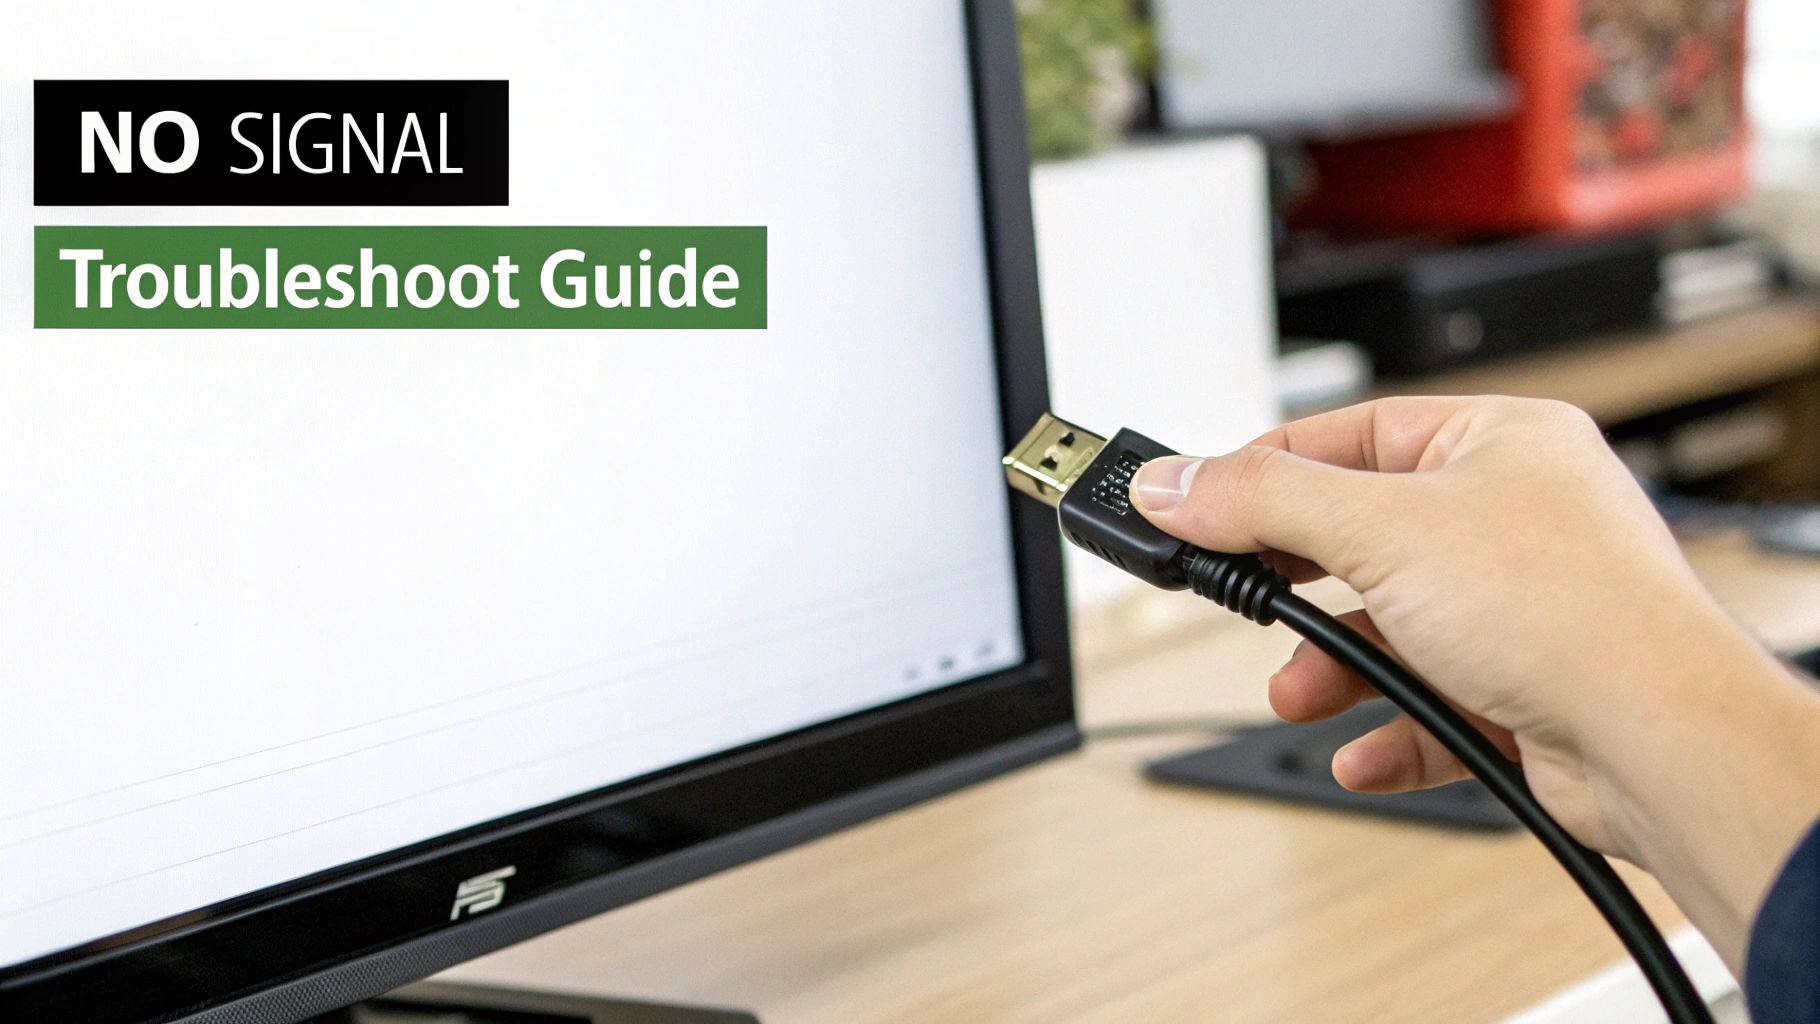
Tackling The Dreaded "No Signal" Error
Seeing "No Signal" floating across an otherwise black screen is a classic. While frustrating, it's actually good news. It tells you the monitor has power and its basic functions are working. The problem is that it isn't receiving any data from your computer.
This is almost always a connection issue. First thing’s first: check the display cable (HDMI, DisplayPort, DVI, etc.). Unplug it from both the computer and the monitor, give it ten seconds, and then plug it back in, making sure the connections are firm. You'd be surprised how often a slightly loose cable is the only thing wrong.
Next, grab your monitor's controls. Most have a button that lets you cycle through the different input sources. If your cable is in the "HDMI 1" port but your monitor is looking for a signal on "DisplayPort," it’s never going to find it. Make sure the input setting matches the physical port you're using.
Pro Tip: I see this all the time on local service calls. If your computer has a separate graphics card, make absolutely sure your monitor is plugged into one of its ports, not the motherboard's video outputs near the USB ports. It's an easy mistake to make, and it will always result in a "No Signal" error.
If the connections are solid and the input is correct, the problem might be on the computer's end. A corrupted graphics driver or a deeper system error can stop your PC from sending a signal. As a last resort for serious software problems, knowing how to reinstall your Windows operating system can sometimes be the only way to fix a persistent software-based display issue.
Calming A Flickering Screen
A flickering or strobing screen is maddening. It can be a symptom of anything from a simple cable issue to a failing component, but let's start with the easy fixes.
Here’s a quick checklist to run through:
- A Bad Cable: Display cables can and do go bad. They get bent, pinched, or just fail internally. The quickest test is to simply swap it out with a spare cable you know is working.
- Refresh Rate Mismatch: Your monitor is designed to refresh its image a certain number of times per second (measured in Hz). If you've set the refresh rate in your computer's display settings higher than the monitor can handle, it can cause instability and flickering. Double-check that setting.
- Driver Issues: This is a huge one. Outdated or buggy graphics drivers are a common cause of all sorts of visual glitches. Head to your graphics card manufacturer’s website (NVIDIA, AMD, or Intel) and download the latest drivers for your specific model.
Exploring Deeper DIY Monitor Fixes
So, you've tried the basics and your monitor is still acting up. It's time to dig a little deeper with some fixes that are a bit more involved but still safe enough to try at home. These next steps can often sort out frustrating problems like stuck pixels or a screen that's gone dim, potentially saving you a trip to a local repair shop.
Just a heads-up: we’re sticking to what’s safe for you to do yourself. Anything beyond this list really starts to need specialized tools and expertise.
Dealing With Stuck or Dead Pixels
There's nothing more distracting than a tiny dot on your screen that just won't cooperate. You're likely dealing with either a stuck pixel, which usually shines bright red, green, or blue, or a dead pixel, which is just a black spot. Dead pixels are a permanent hardware failure, but stuck ones can often be coaxed back to life.
A good first step is to try a software-based fix. There are plenty of free tools online (like JScreenFix) that rapidly flash a sequence of colours over the problematic area. Let one of these run for 20-30 minutes, and you might just jolt that stubborn pixel back into working order.
If the software trick doesn't work, you can try a gentle physical approach. First, turn the monitor off completely. Then, grab a soft, lint-free cloth, wrap it around your fingertip, and apply very light, steady pressure directly over the stuck pixel for a few seconds. Sometimes, this is all it takes to get the liquid crystal moving correctly again.
Important Takeaway: While you can often fix stuck pixels, true dead pixels are permanent hardware defects. If your monitor is still under warranty and has several dead pixels, contact the manufacturer for a potential replacement.
Identifying a Failing Backlight
Is your screen so dim you can barely see it, even with the brightness maxed out? That’s a classic sign of a failing backlight. The backlight is what illuminates your screen's pixels, and when it starts to go, the whole display gets faint.
Another telltale symptom is when the screen flickers on for a brief moment and then goes dark. Try this: shine a bright flashlight on the dark screen. If you can still faintly make out your desktop or an image, it confirms the monitor is getting a signal—the backlight just isn't staying on.
Replacing a backlight is definitely a job for a professional, but knowing how to spot the signs helps you make an informed decision about whether a repair is worth it.
A Look Inside the Casing (For the Brave)
If you're comfortable working with electronics and suspect a power issue, a quick look inside the casing can sometimes reveal the problem. Crucial safety step: always unplug the monitor from the wall and let it sit for at least an hour. This gives the internal capacitors time to discharge safely.
Once you’ve carefully opened it up, find the power supply board. You're looking for small, cylindrical components called capacitors. Here’s what to check for:
- Bulging Tops: A healthy capacitor has a perfectly flat top. If you see any that are bulging or domed, they’ve failed.
- Leaking Fluid: Look for any crusty, dark, or brownish residue at the base of the capacitors. That's leaked electrolyte, another clear sign of failure.
Blown capacitors are one of the most common reasons a monitor stops working. While you might be able to spot the problem, fixing it requires precision soldering skills. This is where most DIY repairs should stop. If you're in the Hamilton, ON area and see this kind of damage, our micro-soldering repair services can take care of these intricate component-level fixes for you.
When It's Time to Call a Pro
Knowing your limits is probably the most underrated skill in any DIY project. It’s one thing to swap a cable or tweak some settings, but it’s another to dive into a repair that’s over your head. Pushing too far can quickly turn a fixable issue into a very expensive paperweight.
So, when should you put the tools down and pick up the phone to a local professional?
The most obvious red flag is physical damage. If your monitor has a cracked or shattered screen, there's really no DIY solution. Screen replacement is a delicate, precise operation that needs special tools and a clean, dust-free space. One trapped dust particle can ruin the new panel. It’s absolutely a job for an expert.
Signs of Serious Internal Trouble
Other signs point to problems deep inside the monitor's casing. If you've opened it up and are greeted by a scene of destruction—like multiple bulging capacitors, scorch marks on a circuit board, or that awful smell of burnt electronics—it's time to close it back up.
Fixing these kinds of issues often involves micro-soldering and diagnostic equipment you won’t find at your local hardware store.
Likewise, if the monitor is completely dead and you've already confirmed the wall outlet and power cord are working, the internal power supply board has probably given up. Swapping this part means working with high-voltage components. For your own safety and to avoid frying the entire monitor, this is a repair best left to a trained local technician.
Making the Smart Financial Call
Deciding whether a repair is worth it often comes down to dollars and cents. In many modern monitors, the components are so tightly integrated that replacing one small part isn't really an option—the whole board has to be swapped.
This reality is reflected across the industry. In fact, the market size for electronic and computer repair services in California has been shrinking by an average of -1.8% per year. You can dig into the numbers yourself with the full industry analysis on ibisworld.com. It just goes to show that getting a professional quote upfront from a shop near you is more important than ever.
Here’s a good rule of thumb I always tell people: if the repair quote is more than 50% of the cost of a brand-new monitor, you should probably just buy a new one. A $150 repair bill for a monitor you can replace for $220 just doesn't make sense. You’re better off putting that money toward a new display with a fresh warranty.
My Two Cents: The math changes for high-end monitors. If you have a professional-grade design monitor or a top-tier gaming display that originally set you back over $500, a repair for a bad power board or backlight inverter is almost always the smarter financial move. Your initial investment justifies the repair cost.
DIY Repair vs Professional Service: A Cost-Benefit Look
To help you visualize the decision, here’s a quick breakdown of common scenarios, potential costs, and my recommendation.
| Repair Scenario | Typical DIY Cost | Professional Local Repair Cost | Recommendation |
|---|---|---|---|
| Flickering Screen (Cable Issue) | $15 – $30 for a new cable | $50 – $75 (local diagnostic fee) | DIY First. It's a cheap and easy first step. |
| Dead Power Supply | $40 – $80 for a replacement board | $100 – $175 (parts + labour) | Call a Pro. High voltage is no joke. |
| Single Dead Pixel | $0 (software fixes) | N/A (not typically "repaired") | Live with it or DIY. A pro can't fix a single pixel. |
| Cracked Screen | $100+ (panel cost, if you can find one) | $150 – $300+ | Call a Pro (or replace). DIY is extremely risky. |
| Backlight Failure | $20 – $50 for LED strips/inverter | $120 – $200+ | Call a Pro. Requires full disassembly. |
This table should give you a clearer picture. The goal is to find the most reliable and cost-effective solution for your specific situation.
If you’re on the fence about whether your monitor's problem is a simple fix or a sign of something more serious, your best bet is to get a professional opinion. For those in the Hamilton, ON area, our team at Klimka Computer Solutions can diagnose the issue and give you a straight, honest answer. We can help you figure out the best path forward so you don’t waste time or money.
A great starting point is learning how to find a reputable service, which you can read about in our guide to finding a PC repair shop near me.
Finding Reliable Local Monitor Repair
When your DIY troubleshooting hits a dead end, it's time to find a pro. But finding a trustworthy local repair service—whether you're in Los Angeles, San Diego, or the Bay Area—can feel like its own project. A little bit of research now can save you a world of frustration later.
The first thing I always look for is transparency. Before I let anyone touch my gear, I need a clear, itemized quote. It should break down everything: parts, labour, the works. If a shop gets cagey about providing a firm estimate, that’s a big red flag for me. Walk away.
Vetting Your Local Repair Options
A solid warranty is absolutely non-negotiable. Any reputable local service should stand behind their work with a guarantee on both the parts and their labour. A 30-day warranty is the bare minimum, giving you enough time to make sure the repair actually holds up to your daily use.
Next, do a little digging online. Real customer reviews on sites like Google and Yelp are gold. You're not just looking at the star rating; you're looking for patterns. Are people in your city consistently praising their communication and the quality of their work? A couple of bad reviews can happen to anyone, but a steady stream of complaints is a clear sign to stay away.
When you're looking into local shops, keep an eye out for signs of a well-run business. Technicians who use efficient job and cost tracking practices tend to be more organized, which often translates to a smoother and more transparent experience for you.
Understanding Costs and Timelines in Your Local Market
So, what should you expect to pay? Repair costs obviously vary, but for a common monitor problem like a faulty power supply, you're likely looking at a range of $100 to $175 at a local shop. The final bill will depend on your monitor’s brand and how hard it is to get the right parts.
Turnaround time is the other big question. If the shop has the part on hand, a simple fix might only take a day or two. But the repair world is facing some new hurdles.
A study from July 2025 painted a pretty stark picture: researchers found that for 48% of products like monitors, repair manuals were hard to come by, and 44% had no spare parts available at all. This makes it incredibly tough for local shops to work on certain models.
This growing scarcity of parts, especially for older or more obscure monitors, can really stretch out your repair timeline. A good technician will be upfront about any potential delays right from the start. Always ask your local shop about parts availability when you get that initial quote to get a realistic idea of how long you'll be without your screen.
Answering Your Monitor Repair Questions

When your monitor starts acting up, you're bound to have questions. Is it worth fixing? How long will I be without it? We get these all the time from folks across the country, so let's clear up some of the most common concerns.
Is It Worth Repairing a Monitor?
This is the big one, and the honest answer usually comes down to simple math. If you've invested in a high-end gaming or professional design monitor, a repair is almost always the smart play.
On the other hand, for an older, basic screen, the cost of a professional fix can easily creep up to—or even surpass—the price of a new one. In cities like Los Angeles or San Francisco, a standard repair for something like a faulty power board typically lands somewhere between $75 and $150.
My rule of thumb is this: get a firm quote from a local repair service first. If the repair cost is more than 50% of the price of a comparable new monitor, you’re probably better off putting that money toward a replacement.
How Long Does a Monitor Repair Take?
The turnaround time really hinges on two things: what’s wrong with it and whether the right parts are on hand at your local shop.
Simple fixes, like a bad cable or a settings issue, can often be sorted out right there during an on-site visit. It's a quick diagnosis and you're back up and running.
For anything that requires opening up the monitor, like swapping out a power supply, we can often get it done in 1-3 business days if the component is in stock. If we need to order a specific part, especially for a less common model, it might take a week or more. A good technician will always be upfront about that.
For more details on what to expect, you can explore our frequently asked questions about computer repairs.
Can You Actually Fix Dead Pixels?
This is where a lot of confusion comes in. There’s a crucial difference between "stuck" and "dead" pixels, and only one has a potential DIY fix.
-
Stuck Pixels: These show up as a solid spot of colour—red, green, or blue. You can sometimes coax them back to life with software that flashes different colours on the screen or by applying very gentle, consistent pressure to the area.
-
Dead Pixels: These are permanently off, appearing as a black dot. A dead pixel is a hardware failure in the panel itself, and unfortunately, it can't be repaired.
If your monitor is still new and has a cluster of dead pixels, it's worth checking your manufacturer’s warranty. Most policies will cover a replacement if a certain number of pixels fail within the warranty period.
One Response
[…] You can find out more about our specific services for professional computer monitor repair. […]