
When your MacBook Pro’s keyboard suddenly stops working, the immediate fear is a costly hardware failure. But before you panic, take a deep breath. In my experience as a provider of computer & laptop repairs Hamilton residents trust, the culprit is often a simple software glitch or a forgotten setting that can be fixed in minutes.
Let's walk through the first few checks I always perform. These are the quick, non-invasive steps that can save you a lot of time and worry.
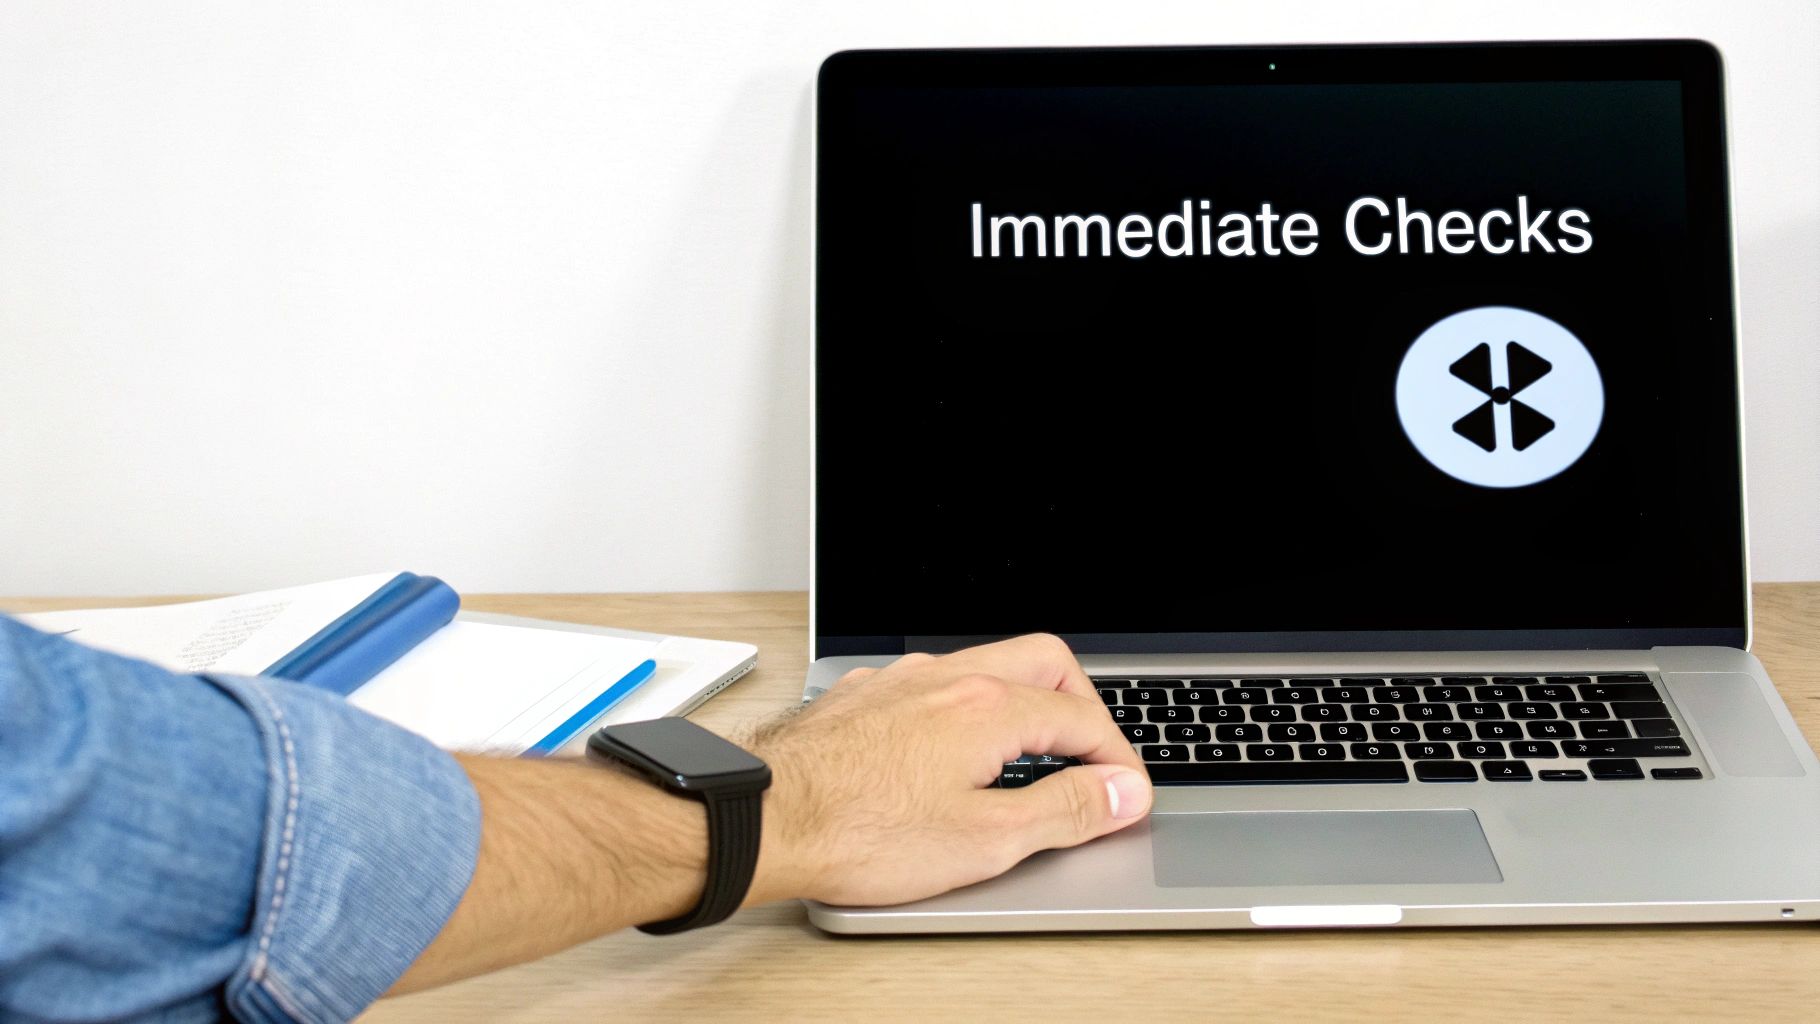
Immediate Checks for an Unresponsive MacBook Keyboard
So, you're ready to get to work, and the keyboard is completely dead. Frustrating, I know. Before concluding it's a hardware disaster, let’s rule out the common, easy-to-fix issues first. We want to see if this is a temporary software hiccup, a setting gone awry, or an external device causing trouble.
Start With the Basics
The first place I always look is for external devices. Have a Bluetooth keyboard or mouse connected? Your Mac might be patiently waiting for a keypress from a device that’s off, in another room, or tucked away in your bag. It’s a surprisingly common scenario.
Simply turn off Bluetooth to check. Click the Control Centre icon in your menu bar and toggle the Bluetooth switch off. If your built-in keyboard springs back to life, you’ve found the cause.
The flowchart below breaks down this initial diagnostic process. It's a logical path: start with the easiest external factors before digging into the system itself.
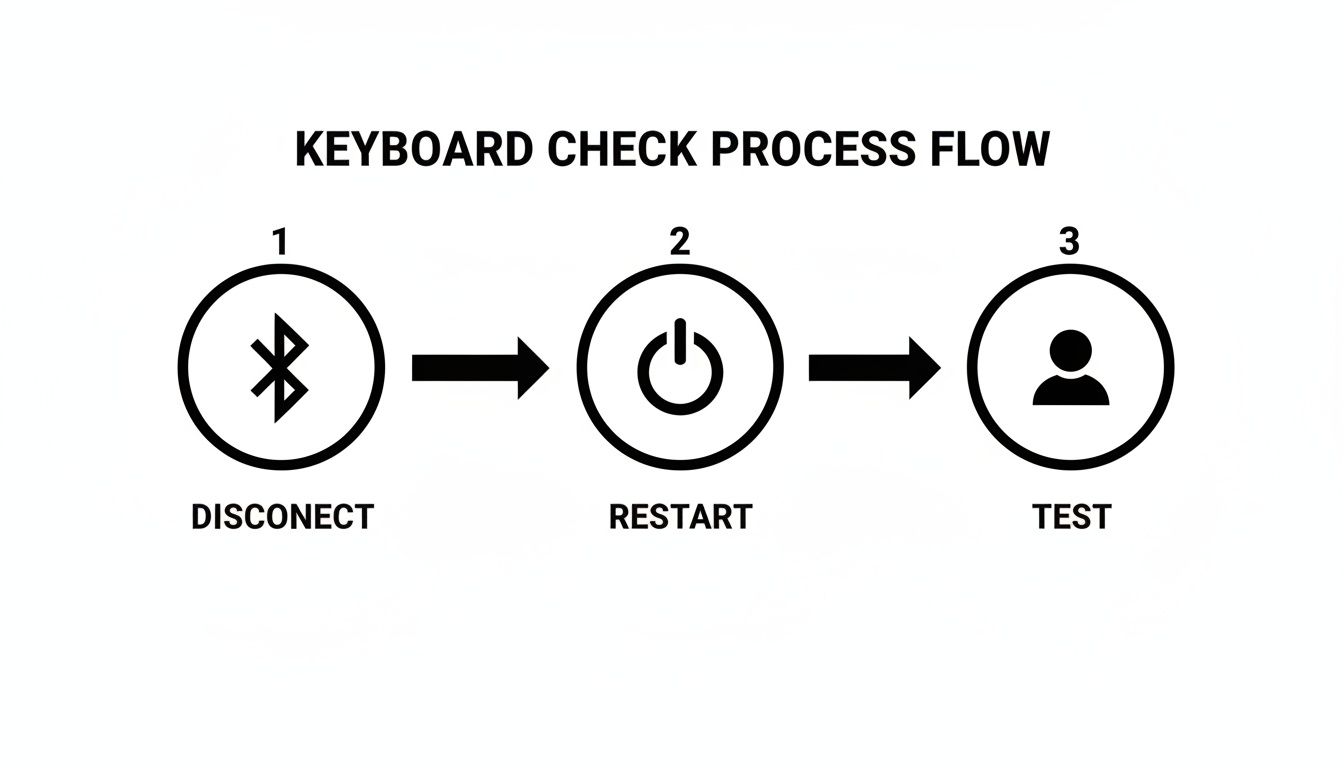
The Power of a Restart
If turning off Bluetooth didn't do the trick, it's time for the oldest trick in the IT book: a full restart. There’s a reason it’s a classic—it works. Restarting your Mac clears out temporary system files and resets processes that might have crashed in the background, causing your keyboard to become unresponsive.
Make sure you do a proper shutdown. Go to the Apple menu > Shut Down. Give it a solid 30 seconds before powering it back on. This gives all the system processes time to terminate completely for a clean start.
A simple restart is one of the most powerful tools in your troubleshooting arsenal. It forces the operating system to reload all its drivers and core services from scratch, which often clears up inexplicable glitches like an unresponsive keyboard.
These first few steps are crucial for quickly diagnosing the problem. Here’s a quick summary to keep handy.
Quick Diagnostic Checklist
| Action Item | Why It Works | Time Required |
|---|---|---|
| Turn Off Bluetooth | Rules out interference from an external keyboard that may have hijacked the connection. | Less than 1 minute |
| Perform a Full Restart | Clears temporary files and resets system processes that may have caused a software glitch. | 2-3 minutes |
| Test in a New User Account | Helps determine if the problem is specific to your user profile settings or is a system-wide issue. | ~5 minutes |
Following this checklist helps you methodically rule out the most common and easily fixable causes before moving on to more complex solutions.
Isolate the Issue With a Different User Account
Still no luck? The next step is to figure out if the problem is tied to your user account or if it's a system-wide issue. A corrupt setting or a buggy login item in your profile can sometimes be the cause.
Create a new test account by going to System Settings > Users & Groups and adding a new user. Log out of your main account and into the new one. Open up Notes or TextEdit and start typing.
If the keyboard works in the new account, the problem is with your primary user profile. If it’s still dead, the issue is likely deeper—either in the core macOS software or, unfortunately, the hardware itself. For complex issues like these, it might be time to investigate professional computer repair services.
Simple Software Fixes You Can Perform at Home
If a quick reboot didn't solve the problem, don't jump to the conclusion that you're facing a hardware failure. The real issue often lurks within macOS itself, where tangled settings or confused system controllers can make a perfectly good MacBook Pro keyboard play dead.
Let's walk through a few software-based fixes. These are completely safe, require no special tools, and I’ve seen them bring countless "broken" keyboards back to life, saving people a trip to a repair shop.
Resetting the System Management Controller (SMC)
Think of the System Management Controller (SMC) as the crew chief for your Mac’s physical hardware. It manages everything from the battery and fans to how your Mac reacts when you close the lid. If the SMC gets its wires crossed, it can cause all sorts of bizarre hardware behaviour—including an unresponsive keyboard.
For most modern MacBooks with an Apple T2 Security Chip or Apple silicon (that's generally models from 2018 onwards), the process is simple: a complete shutdown and restart is often all it takes to set the SMC straight.
If you're using an older Intel-based MacBook (pre-2018) with a non-removable battery, the procedure is a bit more hands-on:
- First, shut down your MacBook Pro completely.
- Press and hold Control + Option + Shift on the left side of your built-in keyboard.
- While still holding those three, press and hold the Power button.
- Keep all four keys held down for a solid 10 seconds.
- Let go of everything, then press the Power button again to start your Mac.
This forces the SMC to reset its parameters, which is a surprisingly effective fix for a whole host of hardware-related glitches. It’s an essential step whenever you're troubleshooting a MacBook Pro keyboard not working.
Clearing the NVRAM or PRAM
Next up is the NVRAM (Non-Volatile Random-Access Memory), or PRAM on even older Macs. This tiny slice of memory holds onto settings your Mac needs to access instantly, like your screen resolution, sound volume, and which disk to boot from. When this data gets corrupted, it can cause all kinds of startup and hardware recognition problems, including keyboard issues.
This reset is only for Intel-based MacBooks. Apple silicon Macs handle these settings differently behind the scenes and don't need a manual reset like this.
Here’s how to clear the NVRAM on an Intel Mac:
- Shut down your MacBook completely.
- Power it on and immediately press and hold these four keys together: Option + Command + P + R.
- You'll need to hold them for about 20 seconds. You might see the screen flash or, on older Macs, hear a second startup chime.
- Once you release the keys, your Mac will boot up as usual.
A successful NVRAM reset is like giving your Mac a clean slate for its most fundamental settings. By clearing out potentially buggy instructions, you often restore proper communication with the keyboard and solve the problem right there.
Check for Pesky Accessibility Settings
Sometimes, the keyboard isn't broken at all—it's just been accidentally told to behave strangely by an accessibility feature. I’ve seen this happen more times than you’d think. The two most common culprits are 'Slow Keys' and 'Mouse Keys'.
- Slow Keys adds a delay between when a key is pressed and when the character actually appears on screen. This can easily feel like your keyboard is lagging or just not working.
- Mouse Keys lets you use the numeric keypad to control the mouse pointer. When it’s on, those keys will move the cursor instead of typing characters.
You can check on these by going to System Settings > Accessibility > Keyboard. Make sure both 'Slow Keys' and 'Mouse Keys' are switched off. It’s a simple check, but it’s solved many a keyboard mystery for folks right here in Hamilton.
If you're still stuck, our broader guide on what to do when your laptop keyboard isn't working as it should has even more tips. When these software tricks don’t do the job, it’s usually a sign of a deeper issue, and it might be time to get some professional help from a computer & laptop repairs Hamilton expert.
Understanding the Butterfly Keyboard Failures
If your MacBook Pro rolled off the assembly line between 2015 and 2019, there's a good chance your keyboard woes are linked to a notorious design flaw. This was the era of the infamous butterfly keyboard mechanism—Apple's attempt to engineer an even thinner laptop. While they succeeded in shaving off millimetres, the result was a keyboard that became a source of immense frustration for millions.
So, what went wrong? It all comes down to the design. Most keyboards use a reliable scissor-switch mechanism, which gives keys a decent amount of travel (how far they press down) and is pretty forgiving. The butterfly mechanism, on the other hand, was built to be incredibly thin, with a central pivot that looks a bit like butterfly wings.
The problem is that this ultra-slim design had almost zero tolerance for, well, life. Even a tiny speck of dust or a crumb could get lodged under a keycap and jam the whole works. When that happened, the key would get stuck, leading to some truly maddening issues.
Telltale Signs of a Failing Butterfly Keyboard
The first step is figuring out if you're dealing with a butterfly keyboard problem. Unlike a software glitch that might knock out the entire keyboard, these hardware failures usually show up on individual keys with very specific symptoms.
If any of these sound familiar, the butterfly design is almost certainly the culprit:
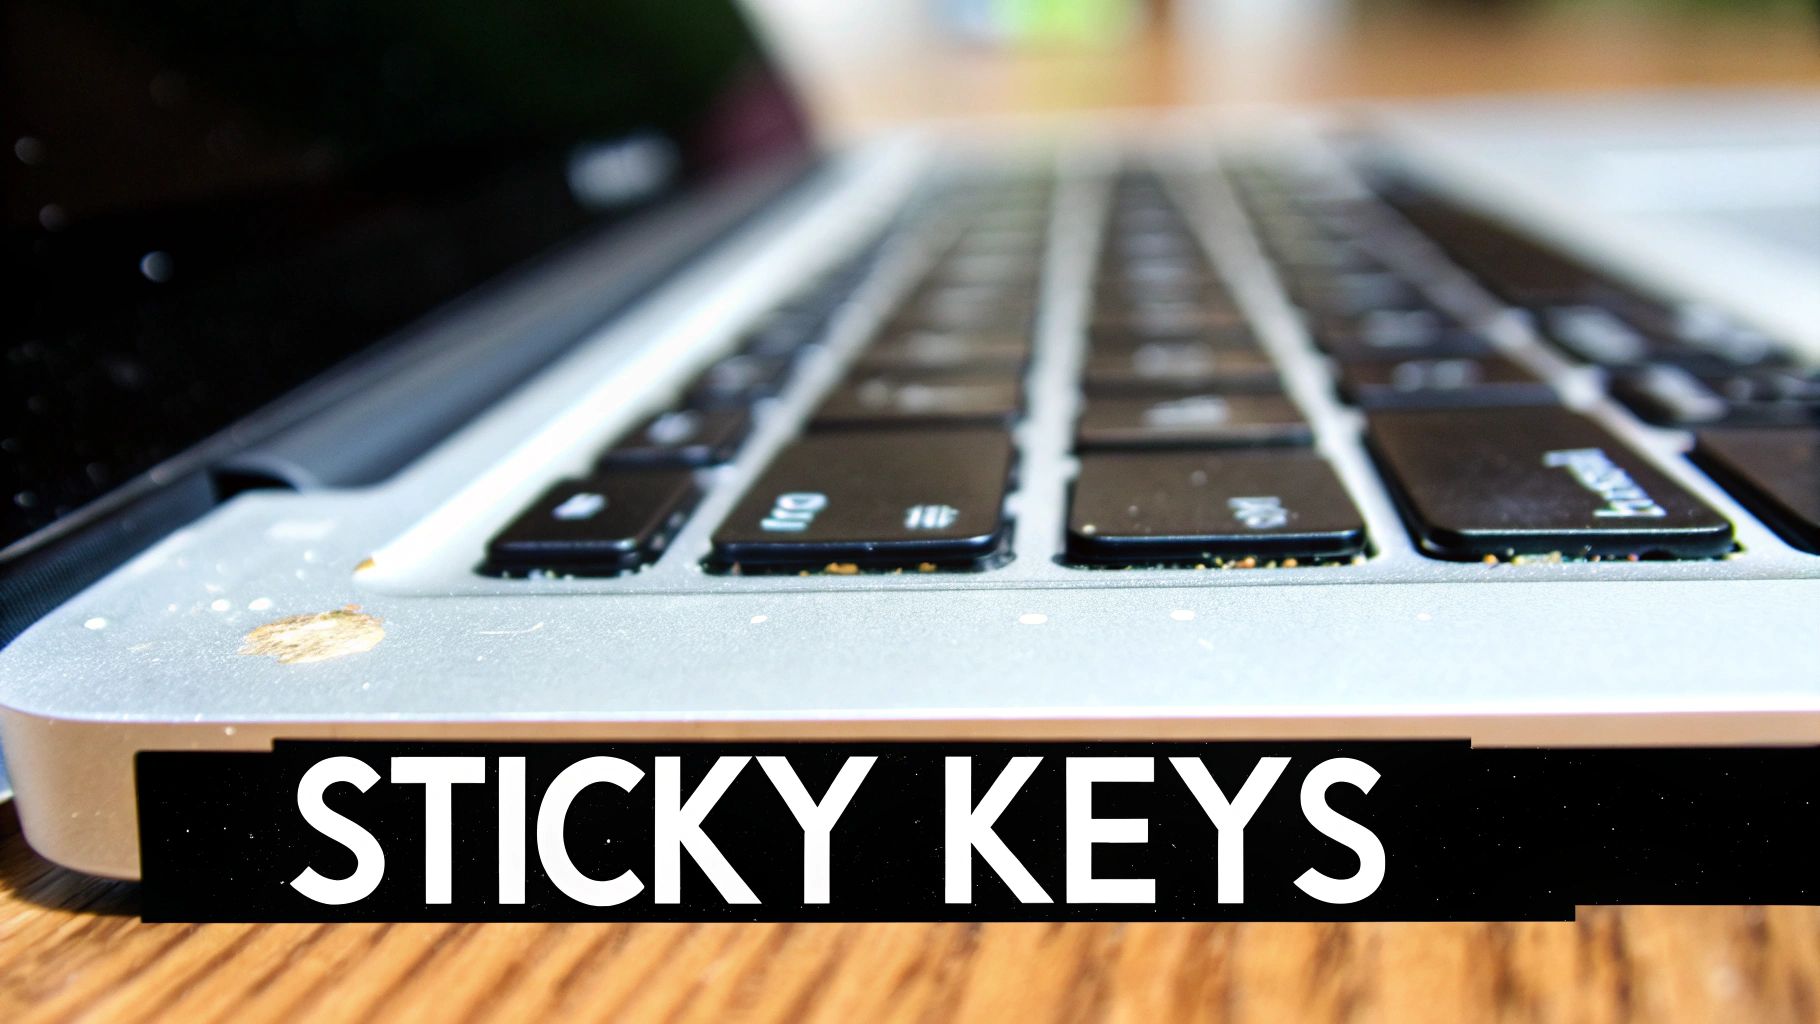
- Sticky or "Stuck" Keys: The key feels sluggish, almost gummy, and doesn't spring back up right away. It can feel like you're typing on a dirty surface even when it's perfectly clean.
- Repeating Characters: You hit a key once, but it shows up multiple times, giving you words like "helllo" or "keyboooard." This happens when the faulty mechanism doesn't correctly signal that the key has been released.
- Unregistered Keystrokes: The exact opposite can also be a problem. You press a key normally, but nothing happens on screen. The input just gets lost, forcing you to constantly backtrack and re-type.
The frustration with these keyboards wasn't just a few isolated complaints; it blew up into a massive issue for Apple. The design was so sensitive to everyday dust that thousands of people found their expensive, premium laptops were being crippled by a basic flaw, making typing a daily battle.
This problem became so pervasive that it ended up costing Apple big time. In March 2021, a California judge gave the green light to a major class-action lawsuit, highlighting just how frequently these keyboards were failing. Internal service data revealed that these keyboards failed twice as often in their first year compared to older models. By 2022, Apple settled the case for a $50 million fund to compensate owners who had already paid for repairs. You can read more about the widespread impact of the butterfly keyboard lawsuit to see the full story.
Why DIY Fixes Often Fall Short
Apple's official advice was to use a can of compressed air, but anyone who tried this knows it's a temporary fix at best. The design flaw is so fundamental that dust and debris just find their way back under the keys, and the problem returns in a matter of days or even hours. Trying to dig deeper yourself is a bad idea—the plastic clips are incredibly fragile and easy to break.
For these specific models, a professional repair is often the only way to get a lasting solution. When a MacBook Pro keyboard not working is because of this hardware fault, it's not a simple fix. Our team providing the computer & laptop repairs Hamilton residents rely on has seen countless examples of these failures firsthand. A full top-case replacement is usually what it takes to get the keyboard working reliably again. If you're dealing with this out of warranty, you can learn more about our approach to professional Apple computer repairs in Hamilton and see how we solve these tough hardware problems for good.
When to Call for Professional MacBook Repair in Hamilton
You’ve tried the software resets, poked around in the accessibility settings, and maybe even carefully blasted the keys with compressed air. But what happens when your MacBook Pro keyboard still refuses to cooperate?
Sometimes, despite your best efforts, the problem is more than a simple software glitch. Knowing when to put the tools down and call a professional is crucial. It’s the line between a straightforward fix and accidentally causing more damage.
There are a few tell-tale signs that scream "hardware issue." These are the moments where a DIY approach can go from bad to worse in a heartbeat.
Clear Signs of Hardware Failure
The most obvious culprit? A liquid spill. It doesn’t matter if it was a tiny splash of coffee or a whole glass of water. Liquid has a nasty habit of seeping under the keys and corroding the delicate circuitry on the logic board. If your keyboard starts acting up—or dies completely—after a spill, shut the MacBook down immediately and get it to a pro.
Another big red flag is when a whole group of unrelated keys stops working all at once. If a random assortment of keys just gives up, it's probably not dust under a single switch. This usually points to a bigger problem, like a faulty keyboard controller or a damaged connector cable.
Physical damage is another clear indicator. If you’ve dropped your MacBook and the keyboard is now unresponsive, it’s a strong sign of internal damage. The impact could have easily knocked a connector loose, cracked the keyboard assembly, or even worse, damaged the logic board itself.
I can't stress this enough: trying to take apart a modern MacBook without the right tools and experience is a huge gamble. The internals are packed in tight, and everything is incredibly fragile. One slipped screwdriver can tear a ribbon cable or puncture the battery, turning a simple keyboard replacement into a very expensive logic board repair.
The Risks of DIY Versus Professional Reliability
Sure, the internet is flooded with "easy" guides for replacing a MacBook keyboard. What they often gloss over is the sheer complexity of the job. You're looking at removing dozens of microscopic screws, disconnecting paper-thin cables, and often prying out a battery that's literally glued to the chassis.
When you bring your device to a specialist, you’re not just paying for a new part. You're paying for their expertise, their specialized tools, and the peace of mind that comes with it. A professional technician can accurately diagnose the real problem. Is it just the keyboard, or is it the connecting cable? Or is it a more serious logic board issue?
This diagnostic step is vital. It stops you from wasting money on a new keyboard only to find out the problem was something else entirely. For anyone in the Hamilton area, using a trusted local repair service means you get a straight, honest answer from the get-go.
What to Expect from a Local Repair Service
Opting for a local expert for computer & laptop repairs Hamilton residents can count on has some real advantages. The process is usually transparent and straightforward.
- Initial Diagnosis: First, a technician will run tests to confirm a hardware failure and rule out any lingering software issues.
- Clear Quote: You’ll get a detailed quote outlining the cost of parts and labour before any work starts. No surprises.
- Expert Repair: The technician will use the proper tools and techniques to safely disassemble your MacBook, replace the faulty component, and reassemble it perfectly.
- Post-Repair Testing: After the repair, your device gets a full workout to make sure the new keyboard is 100% functional and everything else is working as it should.
Think about the infamous butterfly keyboard. This design was so flawed it sparked a class-action lawsuit fuelled by user frustration. A complaint filed showed a Change.org petition gathered nearly 17,000 signatures in just over a week demanding a recall. Data revealed these keyboards failed at double the rate of older designs, with some calling it one of Apple's worst design decisions ever. You can see the details for yourself by reading the full class-action complaint against Apple's butterfly keyboards.
Working with a local service gives you a faster turnaround and the ability to talk directly to the person fixing your machine. If your MacBook Pro keyboard not working problem points to serious hardware failure, professional help is the smartest move you can make. Find out more about our specialized MacBook repair services in Hamilton and let us get your device back in top shape.
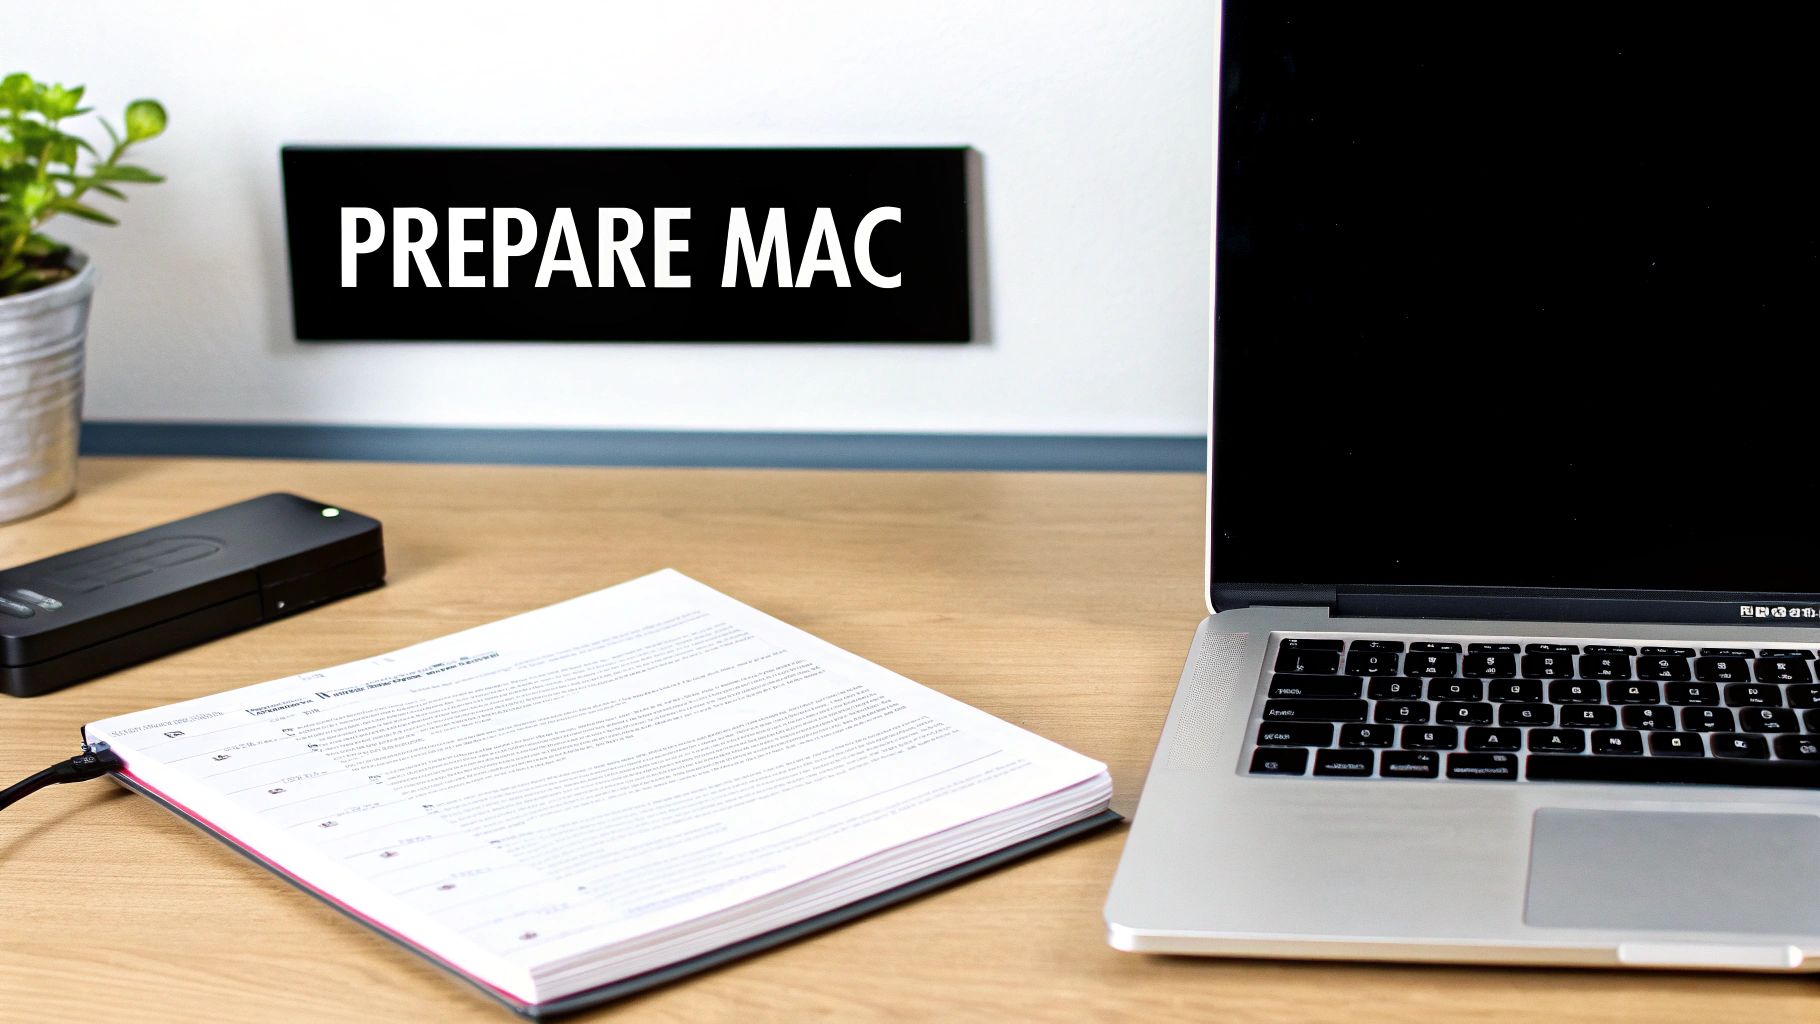
Getting Your Mac Ready for Professional Repair
So, you’ve tried all the tricks in the book for your MacBook Pro keyboard, and it’s still acting up. It's time to call in the experts. But before you hand over your machine, there's one critical step you absolutely can't skip: protecting your data.
No matter how skilled the technician, repairs can sometimes be unpredictable. A logic board issue or a necessary system restore could put your files at risk. Think of this preparation as your insurance policy.
First Things First: Back Up Everything with Time Machine
The single most important thing you can do is create a complete, up-to-date backup. For Mac users, this is incredibly straightforward thanks to Time Machine, Apple’s built-in backup tool. All you need is an external hard drive with enough storage for everything on your Mac.
Getting it set up is simple:
- Plug your external hard drive into your MacBook.
- Head to System Settings > General > Time Machine.
- Click Add Backup Disk, pick your external drive, and just follow the on-screen instructions.
Be prepared for the first backup to take a while—sometimes several hours—so it’s a good idea to start it and let it run overnight. Once it’s done, you have a perfect copy of all your documents, photos, apps, and settings. That peace of mind is priceless.
Before letting anyone service your Mac, a full Time Machine backup is non-negotiable. It’s your safety net. If the worst happens during the repair, you can restore your entire digital life without missing a beat.
With your data secure, you can now focus on finding the right person for the job. Not all repair shops are built the same, especially when it comes to the unique architecture of Apple devices.
Finding a Trustworthy Repair Service in Hamilton
When your MacBook Pro keyboard not working is the issue, you need a technician who truly understands Apple hardware. Giving your machine to someone without that specific experience can easily make a bad situation worse.
If you're in the Hamilton area, look for a service that specializes in the kind of computer & laptop repairs Hamilton residents count on for their Apple products. Experience is everything. A pro who’s seen it all will have the right tools, know the common quirks, and handle your MacBook with the care it deserves.
Here's what I always tell people to look for in a local repair shop:
- Real Apple Expertise: Don't be shy—ask them directly about their experience with your specific MacBook Pro model. A shop that works on Macs day-in and day-out will give you a far more accurate diagnosis.
- Clear, Honest Pricing: A good shop will give you a straightforward quote before they start any work. If they're cagey about costs or try to pressure you, walk away.
- A Solid Warranty: Always ask about their warranty. A reputable service will stand behind its work, typically offering at least 30 days of coverage on both parts and labour. This protects you if the same problem pops up again.
- Local Reviews: See what other people in Hamilton are saying online. Consistent positive feedback about their communication, quality, and repair time is a great sign.
Doing this little bit of homework ensures your MacBook is in good hands and your data is safe. To get a better idea of what a professional service looks like from start to finish, you can learn more about the MacBook repair process with our step-by-step guide. A little preparation can turn a major headache into a smooth, straightforward fix.
Your Top MacBook Keyboard Questions Answered
When your MacBook's keyboard goes on strike, your work grinds to a halt. It's frustrating, and after trying all the quick fixes, you're usually left with some pressing questions. Let's tackle the most common ones we hear from our clients.
Think of this as a straightforward chat about your options. My goal is to give you the clear, practical answers you need to figure out your next move.
How Much Does a MacBook Keyboard Replacement Cost?
This is the big question, and the answer really depends on your MacBook Pro model and who you trust with the repair. The tricky part is that on most MacBooks made in the last several years, the keyboard isn't a standalone part. It's fused into the "top case," which includes the aluminum body, the trackpad, and often the battery.
So, what does that mean for your wallet?
- Going to Apple: This is usually the priciest option. For an out-of-warranty repair, you could be looking at a bill anywhere from $400 to over $700.
- Independent Repair Shops: A reputable local expert can almost always offer a better price. For folks needing computer & laptop repairs Hamilton services, we can typically do the same professional job for a much more reasonable $250 to $500.
My best advice? Always get a detailed quote before you commit. Any trustworthy technician will break down the costs for parts and labour, so there are no surprises.
Can I Replace Just One Broken Key?
I get this question all the time. Back in the day, with older MacBooks, you could sometimes pop off a single keycap and replace the scissor mechanism underneath. Unfortunately, those days are pretty much over, especially with the butterfly keyboards and the newer Magic Keyboard designs.
These modern keyboards are incredibly delicate and just weren't built for individual key repairs. If you try to pry a key off, you're far more likely to snap the fragile plastic clips holding it in place. You can easily turn a small annoyance into a much bigger, more expensive problem. In nearly every modern case, a single physically broken key means the entire top case needs to be replaced for a reliable, long-lasting fix.
Forcing a keycap back on or attempting a single-key swap on a modern MacBook is a huge gamble. You'll almost certainly cause more damage, making a professional top-case replacement the only safe and effective solution.
Does Apple Still Fix Butterfly Keyboards for Free?
Apple did have a well-known Keyboard Service Program that offered free replacements for the notoriously faulty butterfly keyboards. This program covered eligible models for up to four years from their original purchase date.
The catch is that this program has now expired for most of the affected models (those from 2015-2019). If your butterfly-keyboard MacBook is more than four years old, Apple no longer covers it under that special program. You’ll be on the hook for the full repair cost. This is a perfect example of when an independent repair service in Hamilton becomes a much smarter, more cost-effective choice.
Can a Software Update Cause Keyboard Issues?
Yes, it absolutely can. While not as common as a physical failure, I’ve definitely seen cases where a macOS update introduces a weird bug or driver conflict that makes the keyboard stop responding. It often happens after a minor point-release update and gets fixed in the next one.
If your MacBook Pro keyboard not working problem started right after you updated macOS, a quick search on Apple forums or Reddit is a good idea to see if others are experiencing it too. Your first troubleshooting steps should be the SMC and NVRAM resets we talked about earlier. If that doesn't work, you might have to wait for Apple's next patch or, if you have one, restore from a recent Time Machine backup.
When the DIY route just isn't cutting it, it’s time to call in a professional. For reliable diagnostics and expert computer & laptop repairs Hamilton residents trust, Klimka Computer Solutions is ready to help. Contact us today to schedule your on-site repair and get your MacBook working perfectly again.
One Response
[…] can often tackle those at the same time. If your keyboard is also giving you grief, check out our guide to fixing a MacBook Pro keyboard for some extra […]