
We’ve all felt that heart-stopping moment when an external hard drive suddenly goes silent or starts making strange noises. What you do in those first few minutes is absolutely critical and can make the difference between getting your files back and losing them for good. The golden rule? Stop, listen, and check the simple things first before you even think about running software.
Your First Steps When an External Drive Fails
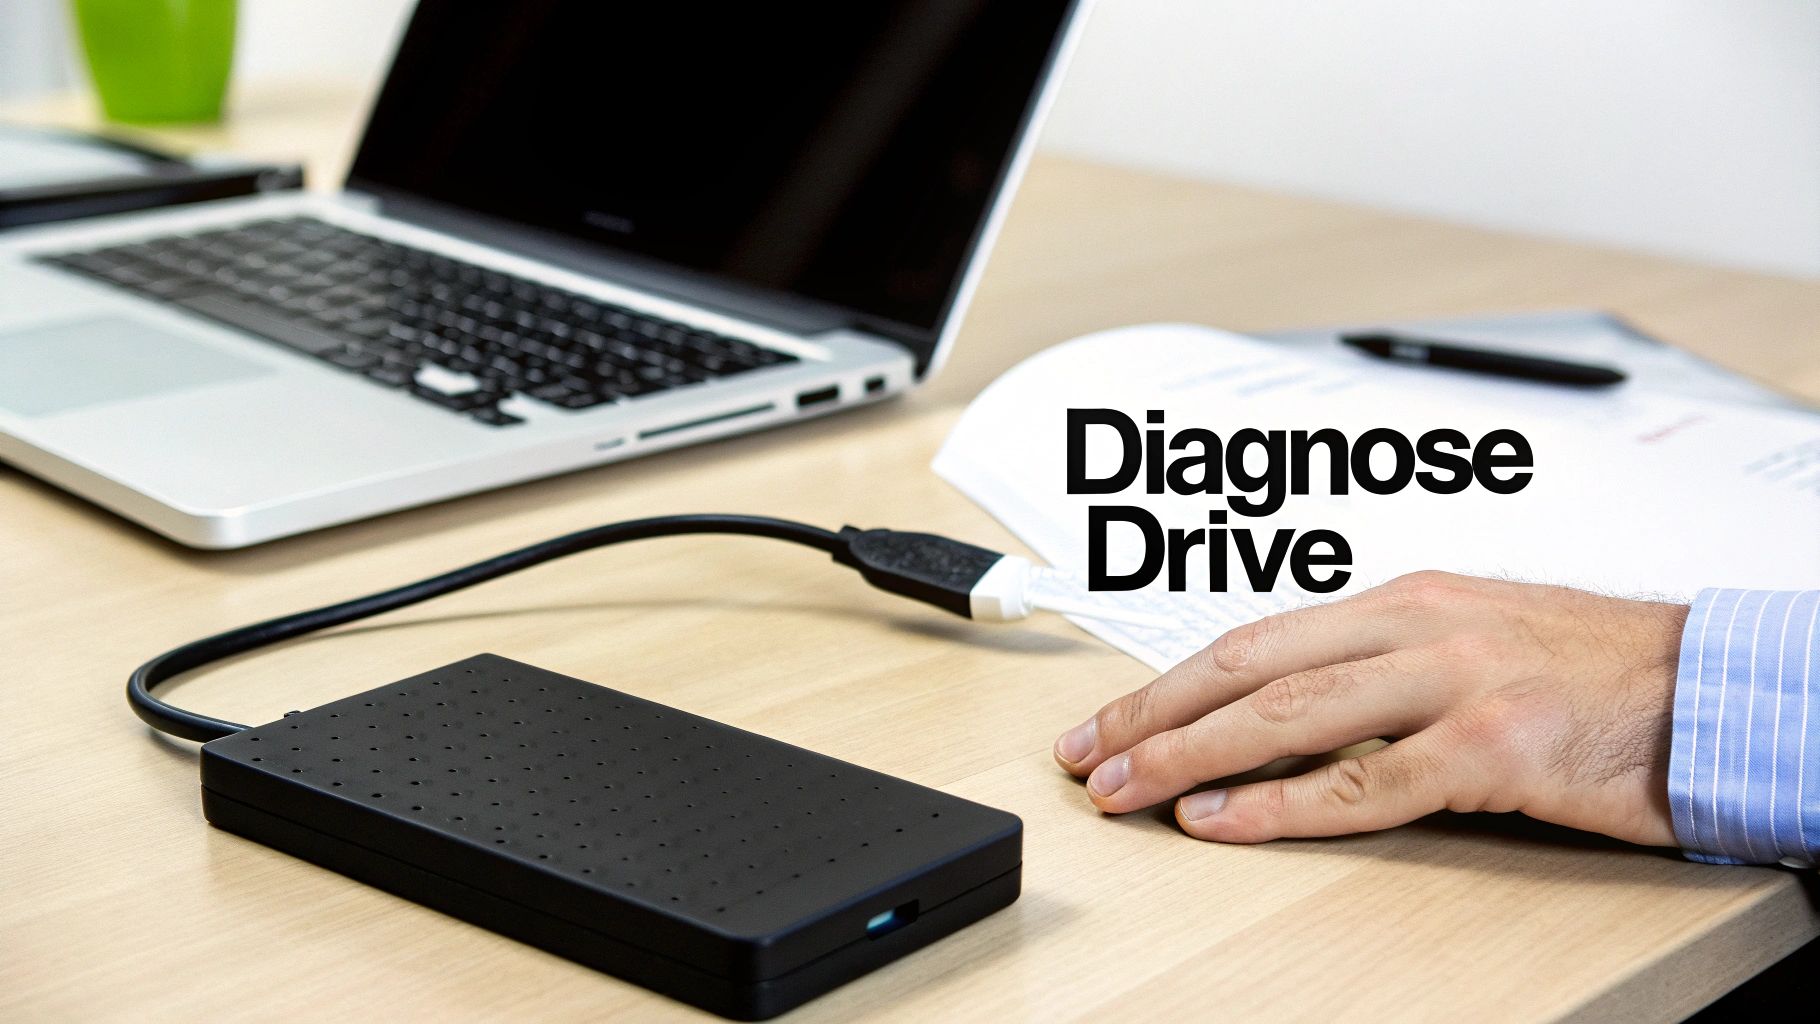
When your drive stops responding, resist the urge to panic or immediately plug and unplug it a dozen times. Take a breath. Your goal right now is to become a detective, calmly assessing the situation to figure out if you're dealing with a simple connection issue or something more serious, like physical damage. This initial diagnosis will tell you whether it's safe to try a DIY recovery or if you need to power it down and call in a professional for data recovery in Hamilton.
The number one priority is to do no further harm. Forcing a physically failing drive to keep running can scrape the data right off its platters, turning a recoverable drive into a paperweight.
Let Your Ears Be Your Guide
Before you do anything else, just listen. Seriously. The sounds a hard drive makes (or doesn't make) are massive clues to its internal health. Plug it in for just a few seconds and listen carefully.
- Clicking or Grinding: This is the big one. A rhythmic clicking—the infamous "click of death"—is a classic sign that the read/write heads are struggling. If you hear grinding or scraping, that's an even worse sign, suggesting the heads are physically touching the platters and destroying your data with every rotation.
- Beeping or Buzzing: A steady beep often means the motor is seized and can't spin the platters. A faint buzzing could point to an issue with the electronics on the circuit board.
- Total Silence: If the drive is dead quiet and you don't feel any vibration, it's probably not getting power. This could be a simple cable issue or a completely dead motor.
Crucial Takeaway: If you hear any clicking, grinding, or beeping, unplug the drive immediately and do not power it on again. This is a clear signal of mechanical failure, and every second it runs increases the risk of permanent data loss. At this point, you should seek out a local data recovery service.
Rule Out the Simple Stuff First
If the drive sounds normal (a quiet hum and gentle vibration) or is completely silent, the problem might be something much simpler. Let's run through the basics to rule out common connection problems. Sometimes, what looks like a dead drive is just a bad cable. And if you suspect the issue is bigger than just the drive, knowing when to fix the computer itself can save a lot of headaches.
Here’s a quick checklist to work through:
- Try a different USB port. It's not uncommon for a single port to fail.
- Swap out the USB cable. Cables are a major point of failure and are cheap to replace. Always test with a cable you know is working.
- Connect it to another computer. If the drive works on a friend's laptop, the problem is with your original computer—not the drive. This could be a driver or software issue.
This quick reference can help you interpret what you're seeing and hearing.
Initial Diagnostic Checklist for Your External Hard Drive
| Symptom | Potential Cause | Recommended First Action |
|---|---|---|
| Clicking, grinding, or scraping sounds | Severe mechanical failure (head crash) | Unplug IMMEDIATELY. Do not power on again. Contact a local expert. |
| Beeping or buzzing | Seized motor or electronic fault | Unplug immediately. Continued power can damage electronics. |
| No sound, no vibration | No power (cable, port, or internal failure) | Test with a new cable and a different computer. |
| Drive spins but doesn't appear on computer | Connection, driver, or logical issue | Check connections, try another computer. |
Once you've ruled out the simple connection issues, you'll have a much better idea of what you're up against.
It's also helpful to know that some drives are more prone to failure than others. A 2025 industry report revealed that external drives between 1TB and 2TB have a 46% failure rate that requires professional recovery. Interestingly, drives over 4TB had a much lower failure rate of around 20%. These external hard drive data recovery findings just go to show how vital it is to follow best practices, like powering off a struggling drive the moment you suspect a problem.
Using Data Recovery Software The Right Way
If your initial checks point to a logical problem—think accidental deletions, a reformatted drive, or some kind of file system corruption—data recovery software can be a real lifesaver. But, and this is a big one, using these tools incorrectly can quickly turn a solvable problem into permanent data loss.
Here's the golden rule: never install or run recovery software directly on the failing drive. It’s the digital equivalent of trying to put out a fire with gasoline. The installation process writes new data, which can easily overwrite the very files you're desperately trying to get back.
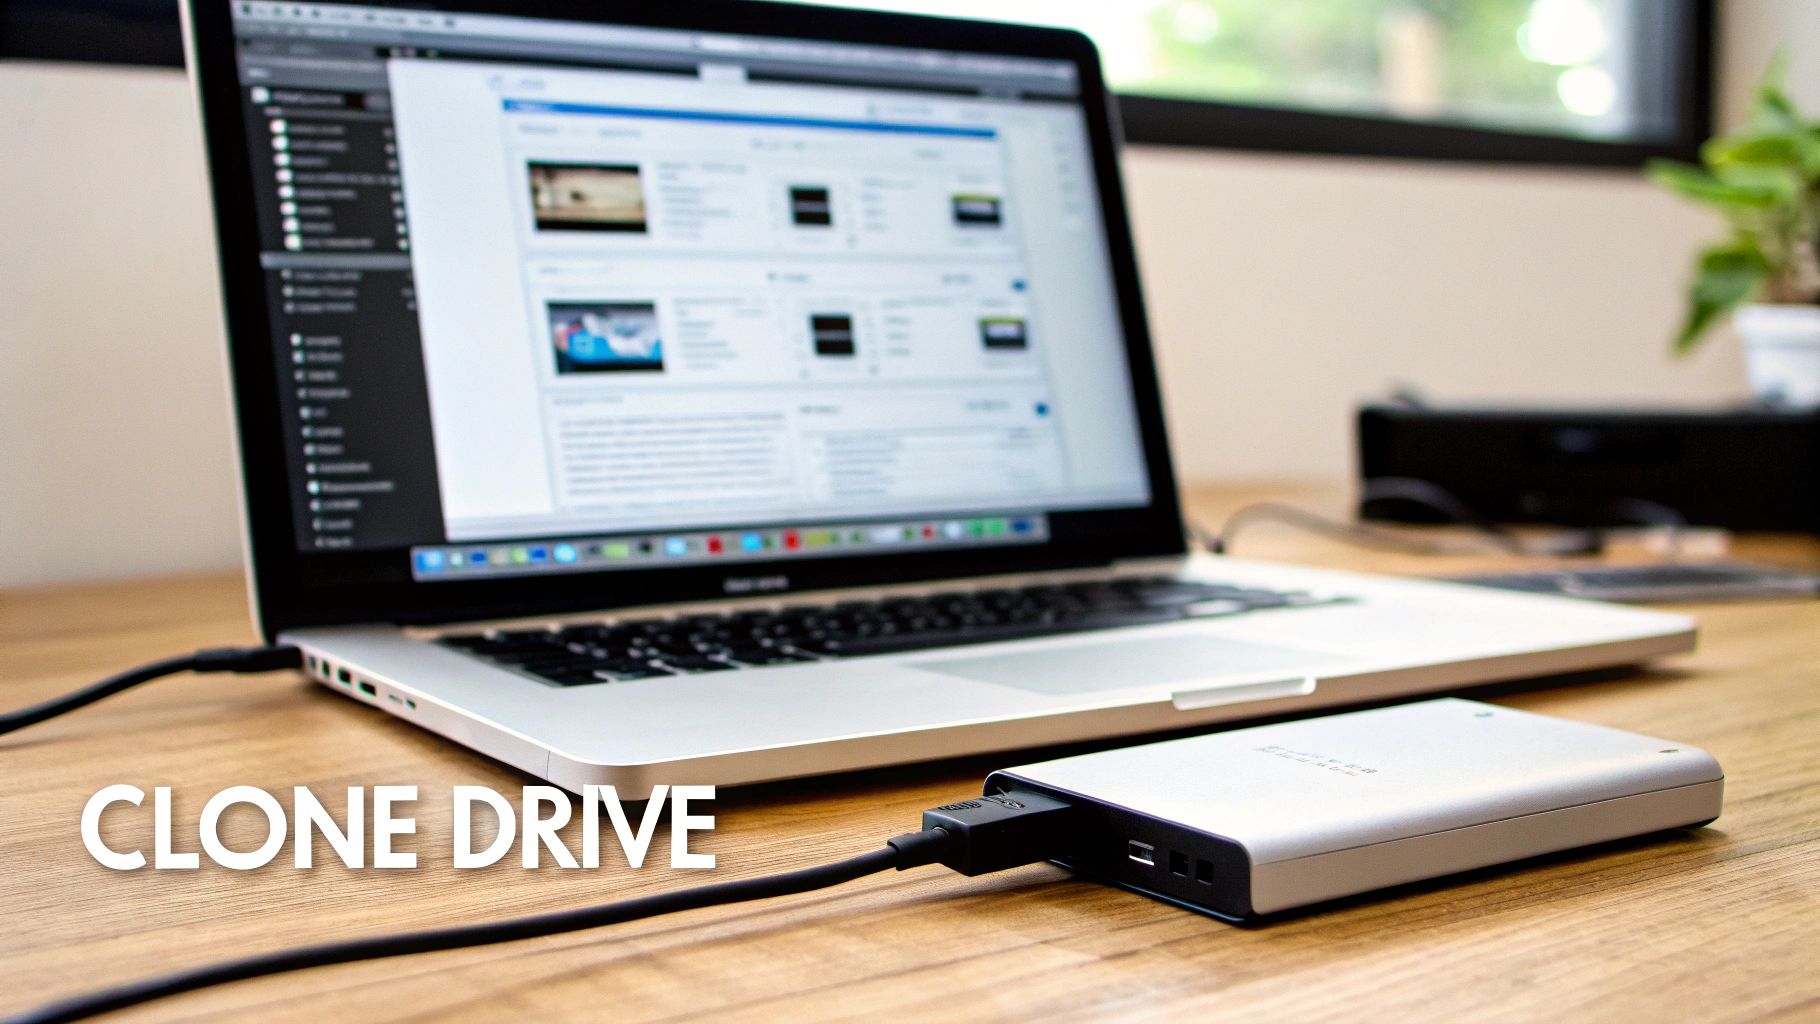
Before you even think about starting a scan, your absolute first move must be to create a complete, byte-for-byte disk image of the troubled drive. This process, often called cloning, creates a perfect digital twin on a separate, healthy hard drive. This image then becomes your safe working copy, shielding the original drive from any further stress.
The Critical First Step: Creating a Disk Image
Think of your failing external drive like a delicate crime scene. You wouldn't just start rummaging around for clues; you’d meticulously photograph everything first. A disk image is that photograph—a perfect, frozen-in-time snapshot of your data.
Working from an image has two massive benefits. It protects your original, fragile drive from the intense read/write operations of a recovery scan, which can be the final straw for a physically failing drive. It also locks in the drive's current state, stopping Windows or macOS background processes from accidentally overwriting your missing files. Thankfully, most reputable recovery tools include a feature to create this image for you.
Choosing Your Data Recovery Software
Once you have a safe disk image to work from, it's time to pick your tool. They're not all the same; some are brilliant for recovering photos, while others excel at piecing together corrupted documents. A smart move is to try a free version first. Most will let you scan and preview what’s recoverable before asking you to pay.
Here are a few trusted options I often recommend to clients here in Hamilton:
- EaseUS Data Recovery Wizard: This is my go-to recommendation for beginners. Its interface is clean and straightforward, making it great for recovering files from accidentally formatted drives.
- Disk Drill: A very capable tool with a powerful "deep scan" feature that can reassemble file fragments. It also comes with some handy data protection utilities to help you avoid this situation in the future.
- PhotoRec: Don't let the name fool you; it recovers much more than just photos. It's a free, open-source powerhouse, but it uses a command-line interface, which can be intimidating for non-technical users. If you're comfortable with that, it can work miracles on severely damaged file systems.
Pro Tip: When you successfully recover your files, always save them to a completely different, healthy drive. Never, ever save them back to the disk image or the original failing drive. You risk overwriting other data that you haven't recovered yet.
The Recovery Workflow: Scanning and Saving Your Files
After you’ve installed your chosen software on your main computer (not the faulty drive!), the process is pretty straightforward. You'll point the software to scan your disk image file—again, not the original drive. Now comes the hard part: waiting. A full scan can take several hours, depending on the size of the drive, so grab a coffee and be patient.
Once the scan finishes, the software will show you a list of everything it found. This is the moment of truth. Good software will have a preview function, letting you see a photo or read a document before you commit to recovering it. This is crucial for checking if the file is actually intact or just a corrupted mess. If files are coming back damaged, you may need to look into how to approach file corruption repair.
From there, you simply select the files you need, point them to a new, safe location on a separate hard drive, and let the software do its work. With a bit of caution and the right tools, your chances of getting that precious data back are quite good.
When you first realize your data is gone, the instinct to do something—anything—kicks in hard. That panic is understandable, but the actions you take in those first few moments can mean the difference between getting your files back and losing them forever.
Here in Hamilton, we've seen the aftermath of well-intentioned but disastrous DIY recovery attempts. A panicked move to "fix" things often ends up being the final blow. Let's walk through the most common mistakes we see so you can steer clear of them.
Keeping a Clicking Drive Powered On
If your external hard drive is making a rhythmic clicking, ticking, or grinding noise, that's not a software glitch. That's the sound of a serious mechanical failure. Think of it as the drive's smoke alarm—it's a desperate warning that something inside is physically broken.
Most likely, the delicate read/write heads are failing or, even worse, making physical contact with the platters where your data is stored.
Every second that drive has power, those heads can be scraping across the platters, literally grinding your precious files into magnetic dust. This is what we call a head crash, and it's one of the most severe types of hard drive damage.
A Quick Story from the Lab: A local photographer brought us a clicking drive holding years of irreplaceable client photos. Hoping it would "sort itself out," they'd left it running for over an hour. By the time we opened it in our local clean room, the platters were so badly scratched there was nothing left to recover. It was a heartbreaking, and entirely avoidable, outcome.
Running Built-In Repair Tools on a Failing Drive
Your computer might pop up a helpful message suggesting you run a repair utility like CHKDSK (on Windows) or First Aid (on macOS). On a healthy drive with a simple file system error, these tools are fine. On a physically failing drive? They're incredibly dangerous.
These utilities work by intensively reading, rearranging, and rewriting data to fix logical errors. Forcing a physically unstable drive to perform these stressful operations can push failing components over the edge. It can even overwrite the very data you’re trying to save in its attempt to "repair" the file structure, permanently erasing it.
Trying to Open the Drive Enclosure
The thought, "Maybe I'll just open it up and take a look," is a tempting one. It's also the single most destructive thing you can do.
A hard drive's interior is a pristine, factory-sealed environment for a reason. The platters spin at thousands of RPMs, with the read/write heads floating over the surface on a cushion of air thinner than a human hair.
- Dust is a Wrecking Ball: To the internal components of a hard drive, a single speck of dust is a massive boulder. If it gets between the head and the platter, it will cause an immediate and catastrophic head crash, scoring the platters and destroying your data.
- A Clean Room Isn't a Suggestion, It's a Requirement: Professional data recovery labs like ours use certified clean rooms that filter out microscopic particles from the air. Your office or living room, by comparison, is a blizzard of contaminants.
There are zero user-serviceable parts inside a hard drive. The moment that factory seal is broken outside of a clean room, the odds of a successful recovery drop to nearly zero.
Of course, the best way to deal with data loss is to prevent it. A solid backup strategy is your best defence. If you're not sure where to start, you can explore your options in our guide on local vs. cloud backups.
To make it crystal clear, here’s a quick summary of what not to do.
Common Recovery Mistakes vs. Best Practices
It's easy to make a wrong turn when you're stressed. This table contrasts those common gut reactions with the safe procedures that give you the best chance of recovery.
| Common Mistake | Why It's Harmful | Correct Procedure |
|---|---|---|
| Leaving a clicking or grinding drive powered on | Causes physical scratching of the data platters, leading to permanent, unrecoverable loss. | Unplug the drive immediately. Do not power it on again for any reason. |
| Running CHKDSK or First Aid on a suspect drive | Stresses failing mechanical parts and can overwrite recoverable data in a failed repair attempt. | Create a byte-for-byte disk image first, then run any recovery software on the clone. |
| Opening the hard drive's case | Exposes the delicate internal components to dust and other contaminants, causing irreversible damage. | Never open the drive. Contact a professional service with a proper clean room environment. |
Ultimately, avoiding these pitfalls is the most important step in any external hard drive data recovery effort. When disaster strikes, your best tools are patience and a refusal to panic.
When to Call in the Pros
While data recovery software can be a lifesaver for simple issues like an accidental file deletion, it has its limits. Honestly, knowing when to stop trying to fix it yourself is the most critical decision you'll make. Pushing a failing drive too hard can be the difference between getting your files back and losing them forever.
There are some very clear, non-negotiable red flags that scream "unplug this drive right now." These are the signs of a physical or mechanical failure—problems that software can't touch. These situations demand specialized tools, a sterile environment, and years of hands-on experience.
The Telltale Signs You Need an Expert
If your external hard drive is making strange noises or showing any physical signs of distress, your DIY efforts are over. Full stop. Continuing to power it on is a gamble you will almost certainly lose.
Here are the most critical warning signs to watch for:
- The Click of Death: This is the classic one. A steady, rhythmic clicking or ticking sound usually means the read/write heads are failing and can't find the data tracks on the platters. It's a cry for help.
- Grinding or Scraping: This is even worse. It sounds nasty because it is nasty. This noise suggests the heads are physically scraping the magnetic layer off the platters—the very layer that holds your precious data.
- Buzzing or Beeping: A faint, constant buzz could point to a problem with the circuit board. A repeating beep often means the motor is seized and can't spin the platters at all.
Beyond the sounds, a drive that's completely dead is another major red flag. If it won't spin up, doesn't vibrate, and isn't recognized by any computer (even with a different cable), you're likely looking at a fried circuit board or a dead motor. In these cases, your only real option is professional external hard drive data recovery.
This flowchart breaks it down nicely—it’s all about listening to your drive.
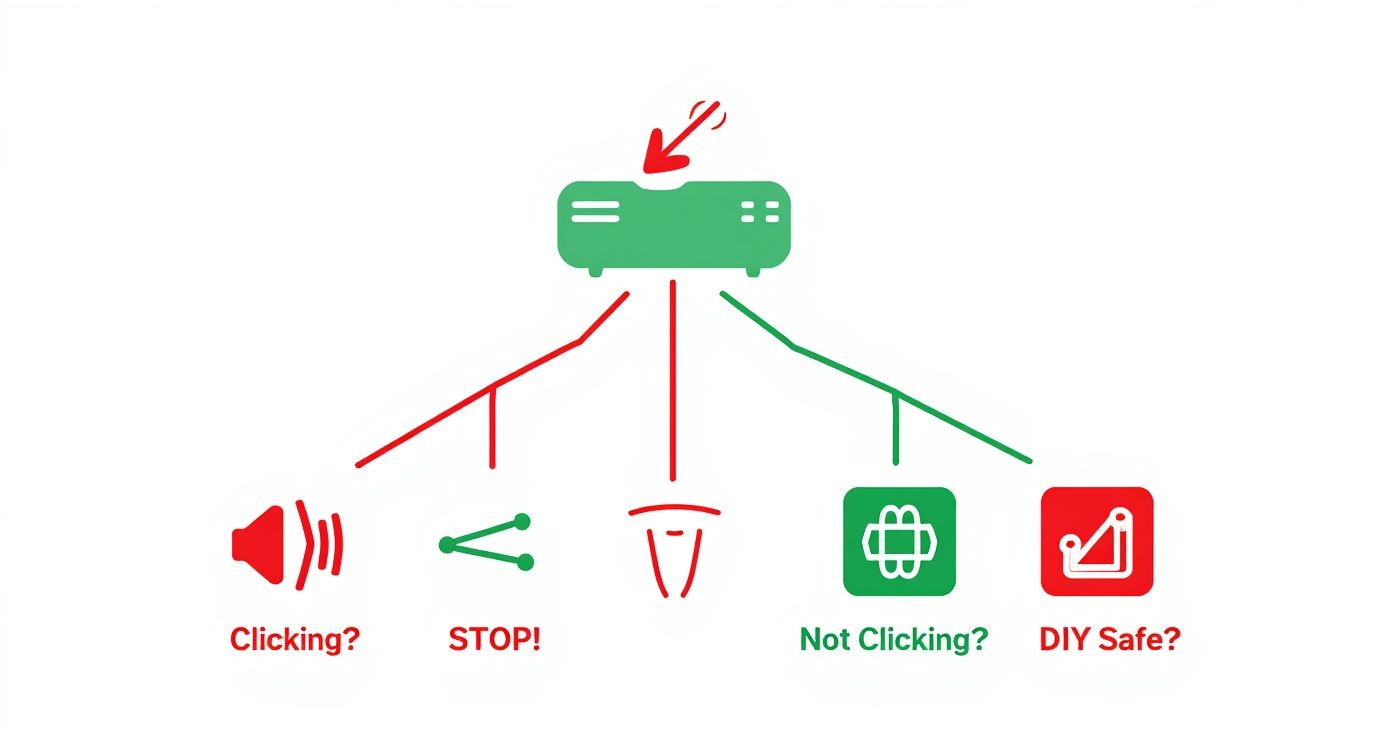
The takeaway here is simple: Physical sounds are an immediate stop sign. A silent failure requires a bit more careful diagnosis, but it's still serious.
What Happens at a Professional Recovery Lab?
Sending your drive to a professional lab is a whole different ball game. It’s worlds away from just running a piece of software at home. The entire process is meticulous, highly technical, and completely focused on safely extracting data from a damaged device.
First, your drive goes through a free, no-obligation evaluation. Local technicians will pinpoint the exact cause of failure—be it mechanical, electronic, or a firmware issue.
Inside the Lab: For any drive with internal physical damage, the work happens inside an ISO-certified Class 100 clean room. This isn't just for show. This controlled environment filters out particles as tiny as 0.5 microns, because a single speck of dust landing on a spinning platter can cause catastrophic damage.
Using specialized hardware, technicians can often read data directly from the platters, bypassing the drive's own broken electronics. If parts have failed, they'll find an identical "donor" drive and perform a delicate transplant of components like the read/write heads or the main circuit board.
Setting Realistic Expectations for Cost and Time
Let's be clear: professional data recovery isn't cheap. You're paying for deep expertise, incredibly expensive equipment, and often, a lot of patience. The cost is tied directly to what’s wrong with your drive. A simple logical recovery might only be a few hundred dollars. A severe mechanical failure needing a clean room and donor parts, however, can easily run into the thousands.
Any reputable service will give you a firm quote after their initial diagnosis, so you’ll know exactly what you’re facing before committing.
Turnaround time also varies. A straightforward case might take a few business days. But a complex recovery that requires sourcing rare parts from a donor drive could take a week or more. When DIY methods are off the table, understanding how to find reliable data recovery services and knowing what to expect is crucial.
Making an informed choice based on a professional evaluation is always the safest bet. For folks in our area, the team at Klimka Computer Solutions offers expert https://klimkacomputersolutions.com/data-recovery-services-near-me/ with honest diagnostics and clear, upfront pricing.
Building a Bulletproof Data Backup Strategy
Getting your important files back is a huge relief, but let that feeling sink in and serve as a serious wake-up call. The gut-wrenching stress of data recovery is something you only want to go through once. The goal now isn't just to get back to normal; it's to build a system so this never, ever happens again.
This goes way beyond occasionally dragging a few folders onto an external drive. A truly bulletproof strategy involves multiple, independent layers of protection. You need to be insulated from hardware failure, accidental deletion, theft, and even local disasters like a fire or flood.
Embrace the 3-2-1 Backup Rule
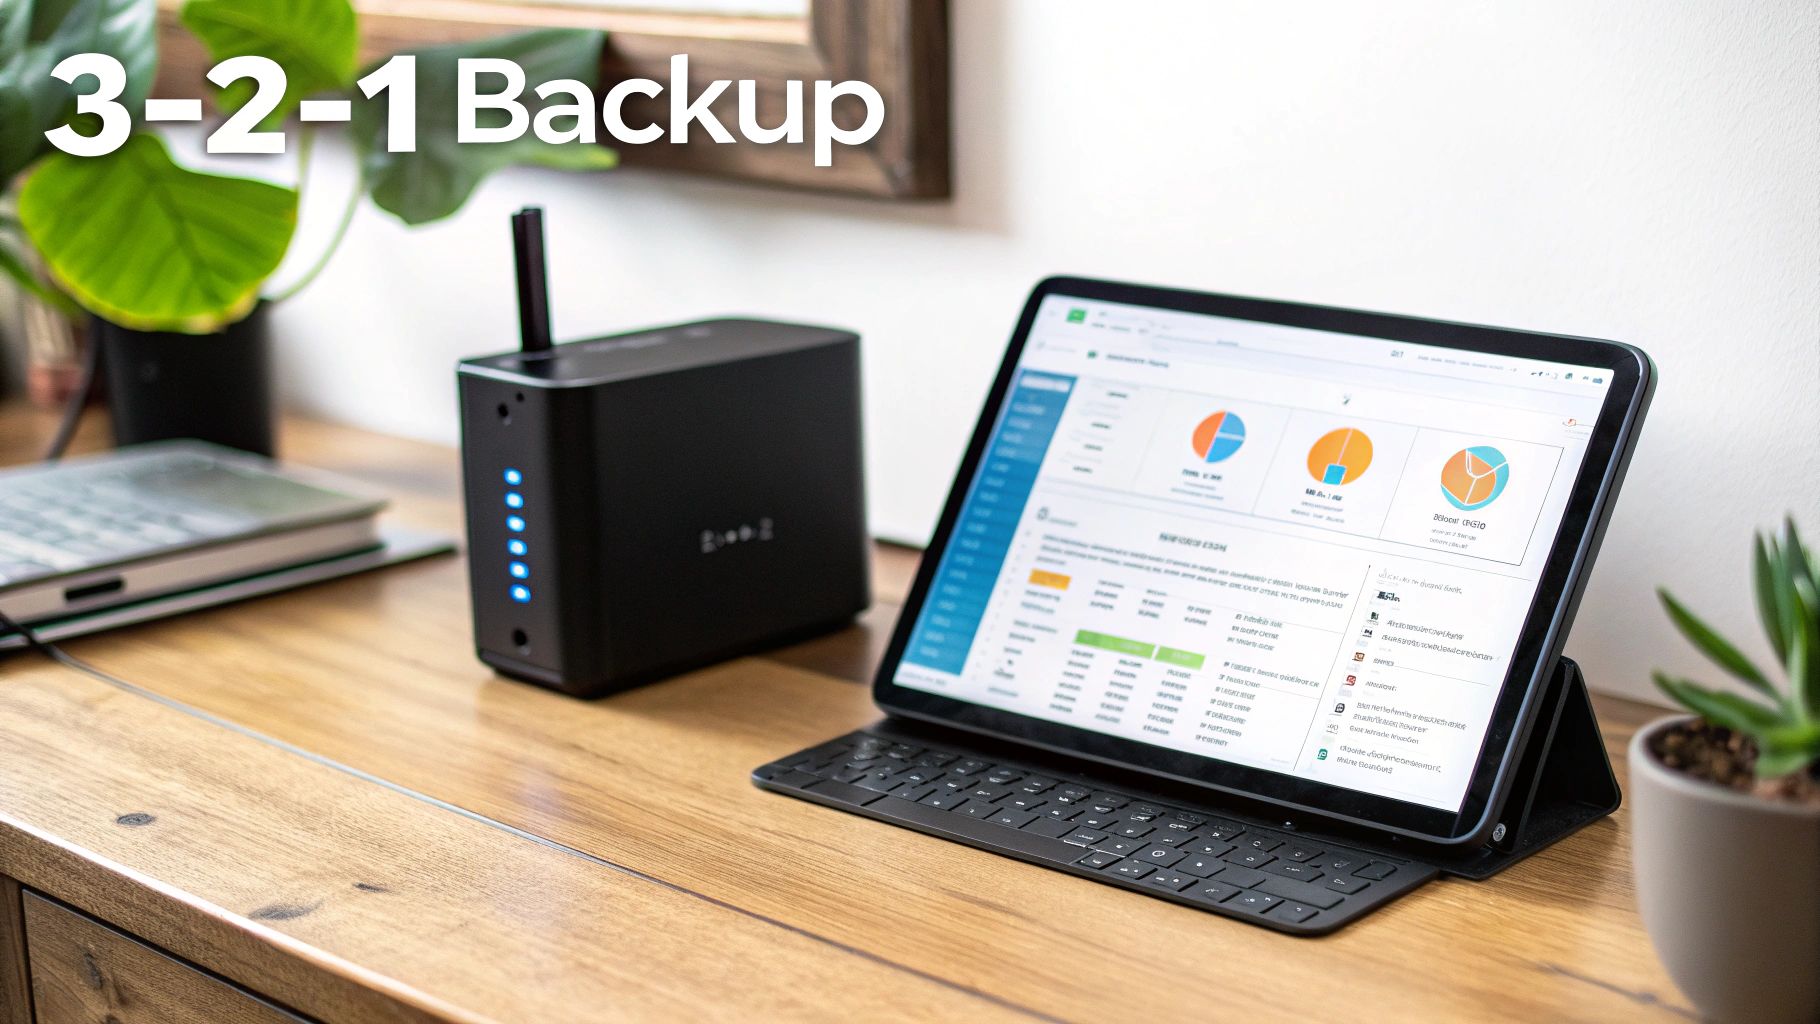
The gold standard in data protection, and something we implement for all our business clients here in the Hamilton area, is the 3-2-1 rule. It’s a beautifully simple concept that creates powerful, overlapping redundancy.
Here’s the breakdown:
- Three Copies: Always have at least three copies of your critical data. This means the original files you work with every day, plus two separate backups.
- Two Different Media: Store those copies on at least two different types of storage. Don't just use two identical external drives. A better approach is using one external drive and one cloud service. This protects you if a whole class of technology fails.
- One Off-Site Copy: Keep at least one of those backup copies in a completely different physical location. This is your lifeline against a localized disaster.
Think of it this way: your "live" data is on your laptop. The first backup happens automatically every night to a Network-Attached Storage (NAS) device in your office. The second backup is an encrypted copy that quietly syncs to a cloud service like Backblaze or iDrive. Now you're protected.
Choosing Your Backup Hardware and Services
The debate between local and cloud backups is a common one. A local NAS gives you lightning-fast recovery speeds and you own the hardware outright, but it’s still vulnerable if something happens to your home or office. Cloud services provide fantastic off-site protection but can be slow for major restores and come with a monthly fee.
Honestly, the best solution for most people is a hybrid approach that uses both. When you’re ready to buy your local device, it pays to understand the best external hard drive for backup options to ensure you're starting on a reliable foundation.
I see this mistake all the time: people think one backup is enough. But if your only backup is an external drive sitting right next to your computer, a single event like a power surge, a spilled coffee, or a break-in can wipe out both the original and the copy in one fell swoop.
A proper data protection strategy is really about business continuity and disaster recovery planning, even on a personal scale. This kind of thinking isn't just for big corporations; it’s essential for any small business or individual with data they can't afford to lose.
Proactively Monitor Your Drive's Health
The final piece of the puzzle is to stop letting drive failure be a surprise. Nearly every modern hard drive and SSD has a built-in health monitoring system called S.M.A.R.T. (Self-Monitoring, Analysis, and Reporting Technology). It quietly keeps an eye on dozens of performance indicators like error rates, operating temperature, and spin-up time.
You can check in on this yourself. Free tools like CrystalDiskInfo for Windows or DriveDx for macOS will read your drive's S.M.A.R.T. data and give you a simple health rating—usually "Good," "Caution," or "Bad." Seeing that status slip to "Caution" is your early warning. It gives you precious time to replace a failing drive before it dies and takes your data with it.
When you're staring at a dead external hard drive, your mind probably races with questions. Let's get right to the ones we hear most often at our local shop, giving you clear, straightforward answers to help you figure out your next move.
Your Top Data Recovery Questions Answered
How Much Does Professional Data Recovery Cost?
This is usually the first thing people ask, and the honest-to-goodness answer is: it really depends on what’s wrong with the drive. There's just no one-size-fits-all price for a job this specialized.
For what we call "logical" issues—say, you accidentally formatted the drive, but it's otherwise physically healthy—you're often looking at a few hundred dollars. These jobs are less about surgery and more about using powerful software in a controlled environment to piece your files back together.
Things get more serious, and more expensive, when there's physical damage. That dreaded clicking sound, for instance, points to a head crash. This isn't a software fix; it's a transplant. We have to find a perfectly matched donor drive for parts and perform the work in a certified clean room to keep dust particles from destroying the platters. A complex physical recovery like that can easily run into the thousands.
A Word of Advice: Any reputable local data recovery service will refuse to give you a quote over the phone. They should always offer a free, no-commitment evaluation to diagnose the real problem first. Only then can they give you a firm price for the job.
Can You Actually Get Files Back from a Formatted Hard Drive?
In most situations, yes, absolutely. When you format an external drive, you aren't actually wiping the data clean. It's more like ripping the table of contents out of a book—all the pages are still there, but the computer has lost its map to find them.
Formatting just erases the file system's address book. The actual ones and zeros that make up your photos, documents, and other files are still sitting on the drive's platters, waiting to be found.
The most critical thing you can do for a successful external hard drive data recovery is to stop using the drive immediately. Every new bit of information you save to it can start overwriting the space where your old files are. Just unplug it. This preserves the data exactly as it is and gives recovery software—or a professional service—the best possible shot at reconstructing your lost files.
What Does a Clicking External Hard Drive Mean?
That rhythmic clicking noise, known grimly as the "click of death," is the most serious red flag a hard drive can throw. It almost always signals a catastrophic physical failure inside the drive.
What you're hearing is the sound of the read/write heads trying—and failing—to find their place over the spinning platters. This could be because the heads themselves are damaged, the motor that spins the platters is failing, or the drive's internal operating software (the firmware) is corrupt.
No matter the root cause, your response should be the same: unplug the drive immediately and leave it off. Each click is a gamble. Continuing to power it on can cause the damaged heads to physically scrape across the platters, literally scratching your data into dust. This can turn a recoverable drive into a permanent coaster in seconds. A clicking drive is the clearest sign there is that it’s time to call in a professional.
If you're in the Hamilton area and dealing with a dead or dying drive, don't leave your data to chance. The team at Klimka Computer Solutions offers expert diagnostics and professional data recovery services to get your important files back safely.
Visit us at https://klimkacomputersolutions.com to learn more or to bring your drive in for an evaluation.
2 Responses
[…] If you spot any of these signs, your absolute first priority is to back up your data to another drive right now. If the drive is completely unresponsive or the files are too important to lose, stop what you’re doing. Don't try to run recovery software yourself, as you can easily make the physical damage worse. For these critical situations, your safest bet is to consult with professional external hard drive data recovery services. […]
[…] At that point, your best bet is to call in a professional. If you're dealing with a drive that just won't cooperate, our team is here to help with external hard drive data recovery. […]