
Before you can fix a weak WiFi signal, you need to play detective. The first step is figuring out why it's weak. Often, the solution is as simple as moving your router to a more central spot in your Burlington home, clearing away some clutter, or shifting other electronics around. These small tweaks can make a massive difference and don't cost a dime.
Common Reasons for Weak WiFi in Southern Ontario Homes
Ever pay for a lightning-fast internet plan only to find your connection crawling at a snail's pace? It's a common frustration, whether you're in a downtown Hamilton condo or a quiet suburban home in Oakville. The problem usually isn't your internet provider; it's what's happening inside your own four walls.
Before you can boost your signal, you have to understand what’s holding it back. Most of the time, the culprits are one of three things: physical obstructions, signal interference, or just plain old network congestion. Each one can seriously sabotage the speed and reliability you're supposed to be getting.
Physical Barriers and Home Layout
The very materials your home is made of can be your WiFi's worst enemy. That gorgeous brick facade common in older Stoney Creek homes or the solid concrete walls in your building are notorious signal killers. Even everyday materials like plaster and wood can soak up a surprising amount of your signal as it travels from the router to your laptop or phone.
Think about it this way: studies have shown that a WiFi signal can lose 25-30% of its strength for every single wall or floor it has to pass through. That's huge. In a two-storey house in Ancaster, a device upstairs might be struggling to get even a fraction of the speed available right next to the router.
Key Takeaway: Your WiFi signal acts a lot like a lightbulb. The more walls, doors, and furniture it has to shine through, the weaker and dimmer it becomes. Placing your router in a central, unobstructed location is always the best first move.
This diagram does a great job of showing how to pinpoint whether physical blockages or interference from other devices are the source of your connection woes.
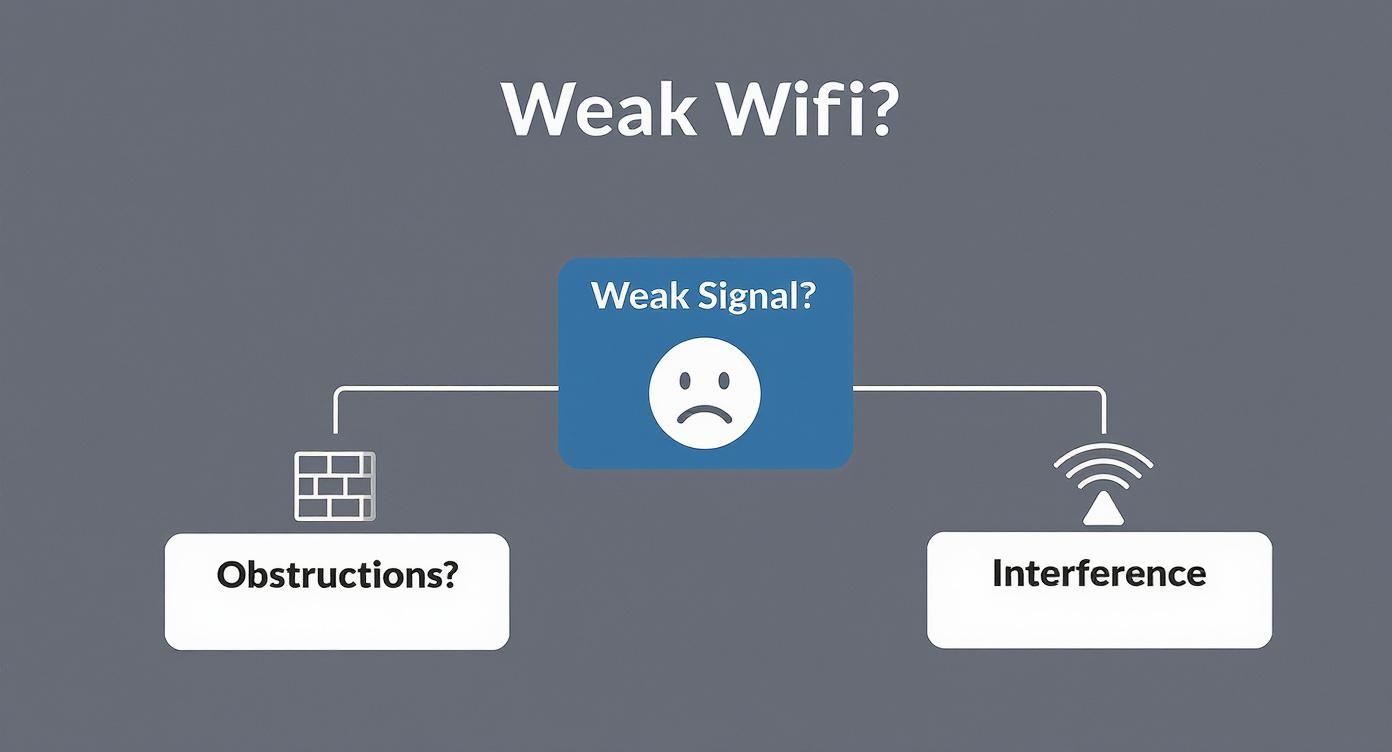
As you can see, once you've confirmed the signal is weak, the next logical step is figuring out if it's being physically blocked or if it's fighting with other signals in the air.
Signal Interference and Congestion
It's not just your home's layout that causes problems. A whole host of common household gadgets operate on the same 2.4 GHz frequency as your WiFi, creating a noisy environment where signals clash.
- Microwave Ovens: These are famous for nuking your WiFi connection whenever you're heating up leftovers.
- Cordless Phones and Baby Monitors: Older models are especially bad for causing interference.
- Bluetooth Devices: Your wireless speakers, headphones, and keyboards can also contribute to the wireless traffic jam.
This problem gets much worse in densely populated areas. If you live in an apartment building in a city like Hamilton or Burlington, your router is competing with dozens of your neighbours' networks, all crammed onto a few limited channels. It's the digital equivalent of rush hour traffic on the QEW.
If you're dealing with constant dropouts and buffering, our guide to professional Wi-Fi troubleshooting in Hamilton can walk you through some more advanced diagnostics. Finding the root cause is the only way to get back to the fast, stable connection you're paying for.
Quick Fixes for an Immediate Signal Boost
Before you even think about buying new equipment, let's talk about some of the most effective ways to improve your WiFi signal—and the best part is, they're completely free. A few simple tweaks can often give you a massive boost in both speed and stability. It really all boils down to treating your router less like an ugly box to be hidden and more like the true heart of your home's network.
So many people make the same mistake: they tuck their router away in a basement corner, stuff it in a closet, or hide it behind the TV cabinet. I've seen it countless times in homes across Hamilton, and it's the single biggest killer of WiFi performance. Your router broadcasts its signal in all directions, kind of like ripples in a pond, so placing it in a central spot is the absolute best way to get even coverage throughout your home.

Find the Optimal Router Location
Take a look around your home and find the most central point you can. This is often on the main floor, maybe in a hallway or an open-plan living area. Getting the router up high on a shelf or table also makes a huge difference, as it helps the signal travel over and around furniture and other low-lying obstacles. A small shift in placement can be the difference between a painfully slow connection in your Burlington home office and a perfectly smooth one.
You also need to be mindful of what's around your router. Certain household items are notorious signal killers:
- Large Metal Objects: Think filing cabinets, refrigerators, and even the metal studs inside your walls. They can reflect and absorb WiFi signals like a sponge.
- Thick, Dense Materials: Concrete, brick, and plaster walls are especially tough for a signal to push through.
- Other Electronics: Try to keep your router at least a metre away from microwaves, cordless phone bases, and Bluetooth speakers to avoid signal interference.
Just by optimizing your router's placement—getting it central and away from these obstructions—you can potentially increase your signal strength by up to 50% in a typical home. On top of that, reducing interference and switching to less crowded channels has been shown to boost speeds by another 20-30%.
Pro Tip: If you live in a multi-storey home, try adjusting the antennas on your router. For a two-level house in a city like Hamilton, point one antenna straight up for horizontal coverage on the main floor. Then, point the other one horizontally (parallel to the floor) to direct the signal upwards to the second storey. It's a small trick that can make a big impact.
The Power of a Proper Reboot
It sounds almost too simple, but the old "turn it off and on again" trick really does work wonders for routers. Over time, your router's memory can get bogged down with minor glitches and errors, causing it to slow down or randomly drop connections. A simple reboot clears that memory and gives it a fresh start.
But there's a right way to do it. Don't just pull the plug and immediately plug it back in.
For a truly effective power cycle, follow these steps:
- Unplug the power cords from both your modem and your router.
- Now, wait for at least 30 seconds. This is the crucial part that gives the internal components time to fully discharge and reset.
- Plug the modem back in first. Wait for its lights to become stable, which usually takes about a minute.
- Finally, plug your router back in and give it a couple of minutes to boot up completely.
Performing this bit of maintenance once a month can help keep your network running smoothly. If you've tried these fixes and are still struggling, it might be time to take a closer look at your setup. For residents in the Hamilton and Halton regions, our guide on router and modem setup in Hamilton provides professional tips for building a rock-solid configuration from the ground up.
Fine-Tuning Your Router Settings for Peak Performance
Moving your router is a great physical first step, but the real magic often happens inside the router's software. Think of its settings panel as the mission control for your home network. A few simple tweaks here can be the difference between a connection that constantly drops and one that's rock-solid.

Don't worry, you don't need to be a network engineer to do this. Most of these adjustments are surprisingly easy and can be done in just a few minutes through your web browser, giving you direct control over how your Wi-Fi behaves.
Selecting the Best Wi-Fi Channel
Ever been stuck in a traffic jam? That's exactly what happens to your Wi-Fi signal. All the wireless networks in your vicinity are competing for space, like cars on a highway. This is a massive issue on the 2.4 GHz band, which is not only crowded with your neighbours' Wi-Fi but also gets interference from things like microwaves, cordless phones, and even baby monitors.
If you're in a dense Hamilton condo building or a packed Burlington suburb, this network congestion is likely a big part of your problem. The 2.4 GHz band really only has three channels that don't overlap and create more interference: 1, 6, and 11.
You can use a free Wi-Fi analyzer app on your smartphone to see which "lanes" are the most congested. Once you spot a clearer channel, you just log into your router and manually make the switch. It's a small change that can have a huge impact on your signal's stability.
Expert Insight: Think of the 5 GHz band as a brand-new, multi-lane superhighway. It has far more channels, so it's much less prone to traffic jams. This makes it the go-to for anything that needs a fast, clean connection.
Understanding Your Wi-Fi Bands
Most routers you'll find today are "dual-band," meaning they broadcast on two different frequencies: 2.4 GHz and 5 GHz. Each one has its own strengths, and knowing when to use which is a cornerstone of a well-optimized network.
-
2.4 GHz Band: This is your long-range specialist. Its signal travels farther and does a much better job of getting through walls and floors. It’s the perfect choice for devices that are far from the router or don’t need lightning-fast speeds, like smart thermostats or your phone as you move around the house.
-
5 GHz Band: This is all about speed. It delivers a much faster connection but over a shorter distance. You'll want to connect your high-demand, stationary devices to this band—think your smart TV for 4K streaming, your gaming console, or the main computer in your home office.
Many routers try to automatically "steer" devices to the optimal band, but this doesn't always work perfectly. A great pro-tip is to log in and give the two networks slightly different names (like "MyNetwork_2.4" and "MyNetwork_5"). This lets you manually connect each device to the band that makes the most sense for its needs.
The Importance of Firmware Updates and QoS
Two of the most overlooked settings can give your network a serious boost. First up is your router's firmware—the software that makes it run. Manufacturers regularly release updates to fix bugs, patch security holes, and, very often, improve performance and stability. Most modern routers have an auto-update feature; make sure it's turned on.
Second, get familiar with Quality of Service (QoS). This setting lets you play traffic cop, telling your router which devices or activities get priority. You can, for instance, tell your router that your work video calls or your PS5 always get first dibs on bandwidth. This simple tweak ensures a smooth, lag-free experience right when you need it most.
For a deeper dive into these advanced settings, our complete network setup and optimization guide walks you through the process. It also helps to have a solid grasp of how your connection works from the ground up; you can explore the intricacies of broadband and Wi-Fi communication to better understand how all these pieces fit together.
Choosing the Right Hardware to Eliminate Dead Zones
So, you’ve moved your router, tweaked every setting imaginable, and you're still stuck with those infuriating dead zones. It’s a classic problem, whether you're in a multi-storey home in Hamilton or a sprawling bungalow out in Grimsby. At this point, it's time to face the music: your single router just isn't cutting it.
Thankfully, you're not out of options. There are several pieces of hardware designed specifically for this battle, but they all work differently. Figuring out the difference between a WiFi extender, a powerline adapter, and a full-blown mesh system is the key to spending your money wisely on a fix that actually works for your home and how you use the internet.
WiFi Extenders and Powerline Adapters
The most common first-aid kit for a weak signal is a WiFi extender, sometimes called a repeater. The idea is simple: you plug it in halfway between your router and the dead spot, and it catches the existing signal and throws it further. They're cheap and a breeze to set up, but there's a big catch. They almost always slash your available bandwidth in half. This makes them a decent choice for low-priority areas, like getting a signal to a smart speaker in the garage, but not for your main home office.
Powerline adapters are a bit more clever. They use your home’s existing electrical wiring to carry your internet connection. You plug one adapter into an outlet near your router (and connect it with an Ethernet cable), then plug the second one in any room where you need a solid connection. This can be much more stable than an extender, but its performance really depends on the quality and age of your home's wiring. It can be a bit of a gamble.
The Modern Solution: Mesh WiFi Systems
For most homes in Southern Ontario, the definitive answer to dead zones is a mesh WiFi system. Instead of relying on a single router trying to do all the work, a mesh system uses a team of "nodes" or "satellites" that you place around your house. They all work together to create one giant, seamless WiFi network that covers your entire home under a single network name.
This means you can walk from the basement media room to the upstairs bedroom during a video call without the connection ever stuttering. Your phone or laptop just automatically switches to the strongest node without you noticing a thing. It's no wonder their popularity has skyrocketed; 35% of households surveyed now use mesh networks to kill dead zones for good.
Real-World Impact: Imagine your video call no longer freezing as you walk from the kitchen to your home office. That’s the practical benefit of a mesh system—it delivers consistent performance everywhere, not just near the main router.
Comparing WiFi Signal Boosting Hardware
To make the decision a little easier, here's a breakdown of how these different hardware solutions stack up. Each one has its place, but one is likely a better fit for your specific needs and budget.
| Hardware Solution | Best For | Pros | Cons | Typical Cost (CAD) |
|---|---|---|---|---|
| WiFi Extenders | Extending coverage to a single, small dead zone for low-bandwidth tasks. | – Inexpensive – Easy to install |
– Cuts bandwidth by up to 50% – Creates a separate network name – Can be unstable |
$40 – $100 |
| Powerline Adapters | Reaching rooms where WiFi struggles to penetrate thick walls or floors. | – Uses existing electrical wiring – More stable than extenders – Provides a wired (Ethernet) connection |
– Performance depends on home wiring – Can be bulky – May not work across different circuits |
$70 – $150 |
| Mesh WiFi Systems | Whole-home coverage in medium to large houses or multi-storey homes. | – Seamless, single network name – Excellent performance & reliability – Easy to manage via an app |
– More expensive upfront – Initial setup is more involved |
$200 – $600+ |
Ultimately, a mesh system offers the most robust and user-friendly solution for completely eliminating dead zones and ensuring strong, stable WiFi everywhere in your home.
For even larger properties or homes with unique construction challenges, professionally installed access points can deliver unmatched performance. Our team offers expert access point installation to create a powerful, custom network designed for your space.
Before you buy any new gear, it helps to understand what makes a good router in the first place. This guide on choosing a WiFi router for your home is a great resource to make sure you're starting with a solid foundation.
Advanced Strategies for Power Users and Large Homes

When the usual tricks just aren't cutting it for your setup—maybe you're a serious gamer, streaming 4K video, or your house is packed with smart devices—it’s time to bring out the heavy hitters. For those of us in larger or more complex homes in areas like Ancaster or Waterdown, getting top-tier network performance means moving beyond the basics and building a truly solid home network.
A standard mesh WiFi system is a fantastic first step, but it has a potential weakness: its performance hinges on a strong wireless signal between each satellite node. If you have brick walls, concrete floors, or even just a lot of distance between them, the entire system can slow to a crawl. This is where a more serious setup really shines.
Harnessing the Power of an Ethernet Backhaul
Honestly, the single best way to supercharge a mesh network is with a wired Ethernet backhaul. Instead of the mesh nodes communicating wirelessly, you connect them with physical Ethernet cables running discreetly through your walls or ceilings.
This creates a dedicated, full-speed data highway between the nodes. The result? Each satellite unit broadcasts a signal that's just as fast and stable as the main router.
Key Takeaway: A wired backhaul gives each mesh node a perfect, full-strength signal to broadcast. It completely sidesteps the signal degradation that happens when nodes have to talk to each other wirelessly through walls and floors.
This approach is a total game-changer for large, multi-storey homes or properties with a detached garage or workshop. While it's a more involved installation, professional network data cabling services can lay a permanent, high-performance foundation for your network that will last for years.
Upgrading to the Latest WiFi Standards
Another massive leap forward comes from adopting hardware that supports the latest WiFi standards. You've probably seen "WiFi 6" and "WiFi 6E" on the box for new routers and gadgets. These aren't just marketing fluff; they represent genuine technological advances.
- WiFi 6 (802.11ax): This standard is all about efficiency. It excels at managing dozens of connected devices simultaneously without getting bogged down, which is perfect for any modern smart home.
- WiFi 6E: This takes everything great about WiFi 6 and adds an exclusive 6 GHz frequency band. Think of it as a private, multi-lane superhighway for your newest devices, completely free from the traffic jams on the older, crowded WiFi bands.
As internet services get faster, this kind of modern hardware becomes more critical. You need a robust local network to actually take advantage of the high speeds your provider delivers. For anyone with the latest smartphones, laptops, or gaming consoles, a WiFi 6E router is the definitive way to improve your WiFi signal and unlock truly exceptional performance.
Got WiFi Questions? We've Got Answers
When it comes to home networking, it's easy to get tangled up in the technical details. All you really want is a reliable connection for work, streaming, or gaming. A lot of residents in the GTHA run into the same frustrations, whether it's because of the way their home is built or because of network congestion in dense cities. Let's tackle some of the most common questions we hear.
We'll cut through the jargon and give you practical answers so you can finally get your home WiFi sorted out.
Will a New Router from My ISP Magically Fix Everything?
Honestly, probably not. Getting a new router from Bell, Rogers, or Cogeco might give you newer tech, but it won't defy the laws of physics. If your current router is stuck in a basement corner of your Hamilton home, a shiny new one in the exact same spot will suffer the same fate.
Signal-blocking walls and just plain bad placement are the real culprits most of the time. Before you even think about new hardware, try moving your existing router and tweaking its settings. That's the first real step to improve your WiFi signal.
A Quick Tip: Before spending a dime or an hour on the phone with your provider, just move your router. Put it somewhere central and up high. It's a free fix that solves a surprising number of WiFi headaches and shows you what your current gear can actually do.
How Can I Tell if My Neighbour's WiFi Is Wrecking Mine?
Living in a condo or apartment in a place like Hamilton or Burlington? Then yes, your neighbours' networks are almost certainly causing interference. The 2.4 GHz band is the biggest offender—it's like a ten-lane highway crammed with a hundred cars, leading to constant slowdowns and dropped connections.
There's an easy way to see what's going on. Grab a free WiFi analyzer app for your phone. It’ll show you a map of all the nearby networks and the channels they're hogging. If your network is sitting on the same channel as ten others, you've found a big part of your problem.
A simple fix is to log into your router's settings and manually change the 2.4 GHz channel. Stick to channels 1, 6, or 11, as they don't overlap. This one small change can make your connection far more stable.
Should I Get a WiFi Extender or a Mesh System?
For the typical multi-level home in Southern Ontario, a mesh WiFi system is hands-down the better investment. A standard WiFi extender just takes your already-weak signal and re-broadcasts it, which can slash your internet speeds by up to 50%. It’s more of a band-aid than a real solution.
A mesh system, on the other hand, is a team of smart nodes that work together to blanket your home in one seamless, strong network. This means you get fast, reliable speeds everywhere, from the basement to the top floor. It's the proper way to improve the WiFi signal across your whole property.
At Klimka Computer Solutions, we know that every home network has its own unique quirks. If you've run through these tips and are still stuck with dead spots and buffering, our experts can come to you. We offer on-site diagnostics and professional solutions designed for your Hamilton-area home. Find out more at https://klimkacomputersolutions.com.
6 Responses
[…] into the setup, brushing up on the basics can be a huge help. You can check out our other guide on how to improve Wi-Fi signal for more foundational […]
[…] you're looking for more ways to boost your network, check out our guide on how to improve your Wi-Fi signal for some extra […]
[…] If you want to dive deeper into getting the best possible connection, you can learn more about how to improve your Wi-Fi signal in our detailed guide. […]
[…] Ultimately, these adapters provide a powerful, budget-friendly way to untether your electronics. For more tips on strengthening your home network's signal, be sure to check out our guide on how to improve your WiFi signal. […]
[…] Of course, if your wireless network is the real problem, the adapter is more of a workaround. For a deeper dive, check out our guide on https://klimkacomputersolutions.com/how-to-improve-wifi-signal/. […]
[…] machine can communicate effectively with your router and the broader internet. Learn more about how you can improve your signal with our detailed […]