
Ever had a computer die on you, taking all your precious photos, documents, and memories with it? It’s a gut-wrenching feeling. The good news is, the hard drive inside is often perfectly fine—the data is just trapped. This is where a hard drive docking station comes in.
Think of it like a toaster for your hard drives. You simply slide a bare internal hard drive into a slot, connect the dock to your current computer with a USB cable, and voila—all your files are accessible again. It’s a simple, elegant bridge between old hardware and your new machine.
What Is a Hard Drive Docking Station

At its heart, a docking station is a piece of hardware that lets you plug in an internal hard drive (the kind usually screwed into a desktop tower or laptop) and use it like an external one. You don't need to open up a computer case, fiddle with cables, or have any special technical skills.
For so many people here in Hamilton, it's the go-to tool for rescuing years of photos from a computer that won't turn on or for making a quick backup before an upgrade. It solves that all-too-common problem for residents in areas like Ancaster or Stoney Creek of having valuable data stuck on a drive you can no longer easily access.
The Modern Need for Docking Stations
Two big shifts have made these docks more useful than ever in Canada: we're creating more data than ever before, and we've overwhelmingly moved to laptops. By 2023, over 80% of Canadian households had a computer, and a whopping 74% of those were laptops, not desktops.
This trend means a lot of us have old 2.5” or 3.5” hard drives sitting in a drawer from past upgrades or retired machines. A docking station turns those otherwise useless drives into practical, hot-swappable storage.
A docking station makes any internal hard drive function like a portable USB stick. You get the convenience of plug-and-play access without needing any tools or technical skills to open up a computer case.
Key Functions and Benefits
These devices are far more than just a one-trick pony for data recovery. They are incredibly versatile tools for managing your digital life.
Here are a few of the most common ways people use them:
- Data Recovery: The classic use case. Easily pull files from the hard drive of a broken or dead computer.
- System Upgrades: Clone your entire operating system to a speedy new Solid State Drive (SSD) without the headache of reinstalling everything from scratch.
- Temporary Storage: Need to grab a few large video files from an old drive for a project? A dock lets you do that in minutes without any permanent setup.
- Secure Backups: Create offline, "cold storage" copies of your most important files. For more permanent solutions, you can also explore our guide on choosing the best external hard drive for backup.
In short, hard drive docking stations breathe new life into old hardware, making sure your important data is never truly lost or out of reach.
Choosing the Right Hard Drive Dock for Your Needs
Not all hard drive docks are built the same, and staring at a wall of options can be a bit overwhelming. The good news is that picking the right one is pretty simple once you know what to look for. It all boils down to what you plan to do with it.
Single Bay Versus Dual Bay Docks
The first thing to consider is how many drives you need to connect at once.
A single-bay dock is your straightforward, no-fuss workhorse. It’s perfect for simple jobs like pulling photos off an old computer's hard drive or making a quick backup. For most home users in Hamilton just needing to access one drive at a time, this is usually the most practical and affordable choice.
If you find yourself juggling multiple drives, a dual-bay dock is a lifesaver. It lets you pop in two drives at the same time, which is fantastic for moving files directly from one to the other without clogging up your computer's own storage. Think of it as the easiest way to consolidate all the files from a couple of old machines onto one big, new drive.
Many dual-bay models also include a killer feature: offline cloning. This lets you duplicate one drive onto another with a single button press—no computer required. It’s the absolute best way to upgrade to a new SSD, as it creates a perfect, bootable copy of your old system.
An offline cloning function is the simplest, most direct method for creating a perfect 1-to-1 copy of a hard drive. It's an ideal solution for system upgrades, ensuring you don't lose any data, programs, or settings in the process.
Understanding Connectors and Drive Types
Next up, you have to play matchmaker between the dock, your hard drive, and your computer.
The vast majority of hard drives from older desktops and laptops use a SATA (Serial ATA) connector. This has been the standard for a long time, so almost every dock you see will support both the small 2.5-inch laptop drives and their bigger 3.5-inch desktop cousins. If you want to dive deeper into the different kinds, check out our guide on the types of laptop hard drives available today.
But technology marches on. Newer, blazing-fast SSDs often use an NVMe M.2 connection. These look more like a little stick of RAM and won't fit in a standard SATA dock. If you're working with one of these, you'll need a dock specifically designed for NVMe drives. Always double-check your drive type before you buy.
Finally, think about how the dock will connect to your computer. Most docks today use USB 3.0 or the even faster USB-C / Thunderbolt standards. They're all quick, but for maximum speed—especially with an SSD—you'll want to match the dock to the fastest port on your computer, like a Thunderbolt or USB-C port. This ensures you're getting every bit of performance and not creating a bottleneck.
Hard Drive Docking Station Feature Comparison
To help you visualize the differences, here's a quick comparison of the most common types of docking stations and what they're best suited for.
| Feature | Single-Bay Dock | Dual-Bay Dock | Cloning Dock | NVMe Dock |
|---|---|---|---|---|
| Drive Support | 1 x 2.5"/3.5" SATA HDD/SSD | 2 x 2.5"/3.5" SATA HDD/SSD | 2 x 2.5"/3.5" SATA HDD/SSD | 1 or 2 x NVMe M.2 SSDs |
| Primary Use Case | Quick data access, backups, data recovery | Transferring data between two drives, data migration | System upgrades (HDD to SSD), creating backups | Accessing or cloning modern, high-speed SSDs |
| Key Feature | Simplicity, affordability | Simultaneous access to two drives | Standalone, one-button offline cloning | Compatibility with NVMe M.2 form factor, ultra-fast speeds |
| Typical Speed | Limited by USB 3.0 (up to 5 Gbps) | Limited by USB 3.0/3.1 (5-10 Gbps) | USB 3.0/3.1 or offline (speed varies) | Limited by USB-C/Thunderbolt (10-40 Gbps) |
This table should give you a clearer picture of which dock aligns best with your project, whether it's a simple file transfer or a full system upgrade.
Everyday Uses for Your Docking Station
All the technical talk is great, but where the rubber really meets the road is in how these docking stations solve real-world problems. Think of them as the Swiss Army knife for your data. They can turn a potential digital disaster into a completely manageable task.
Let's walk through four common situations right here in Hamilton where a hard drive dock can be an absolute lifesaver.
Recovering Files from a Dead Computer
We’ve all felt that stomach-drop moment: you hit the power button, and… nothing. Your computer is dead. The immediate fear is that every photo, document, and important file is gone for good. But here’s the thing—more often than not, it’s the computer’s other parts that have failed, while the hard drive itself is perfectly fine.
This is where a docking station saves the day. Once the hard drive is removed from the broken computer, you just pop it into the dock and connect it to a working machine. Like magic, it shows up as a regular external drive, and all your supposedly “lost” files are right there, ready to be copied to safety. It's the most straightforward way for anyone in the Golden Horseshoe to pull off a basic data rescue without leaving their home.
Upgrading Your System to an SSD
Is your computer taking forever to boot up and open programs? Swapping out an old-school Hard Disk Drive (HDD) for a modern Solid State Drive (SSD) is probably the single biggest performance upgrade you can make. The big headache, though, is figuring out how to move your entire digital life—operating system, software, and all your files—without the nightmare of reinstalling everything from scratch.
A dual-bay cloning dock is the perfect tool for this job.
- Step 1: Slide your old HDD into the dock's "source" bay.
- Step 2: Place your brand new SSD into the "target" bay. Just make sure the new drive has at least as much storage capacity as the old one.
- Step 3: With the dock unplugged from any computer, you just press the "clone" button.
The dock will then get to work, creating an exact, bit-for-bit copy of your old drive onto the speedy new SSD. Once it's finished, you just install the new SSD into your computer. It will boot up just like it did before, only now it'll be incredibly fast.
Creating Temporary Project Storage
If you're a creative professional or even a hobbyist in Hamilton dealing with massive files like 4K video or huge photo libraries, you know how quickly internal storage can vanish. Instead of shelling out for more expensive external drives, a docking station lets you put those old hard drives you have collecting dust to good use.
A hard drive docking station is fantastic for turning old, unused drives into high-speed, temporary storage. It's the perfect solution for offloading big project files to clear up space on your main computer and keep your workflow organized.
That old 1TB desktop drive can become your dedicated video editing space. A handful of smaller laptop drives can be used to archive and sort through years of family photos. It's a super flexible and budget-friendly way to get more storage right when you need it.
To help you choose, this decision tree shows which kind of dock you'll need based on what you're trying to accomplish.
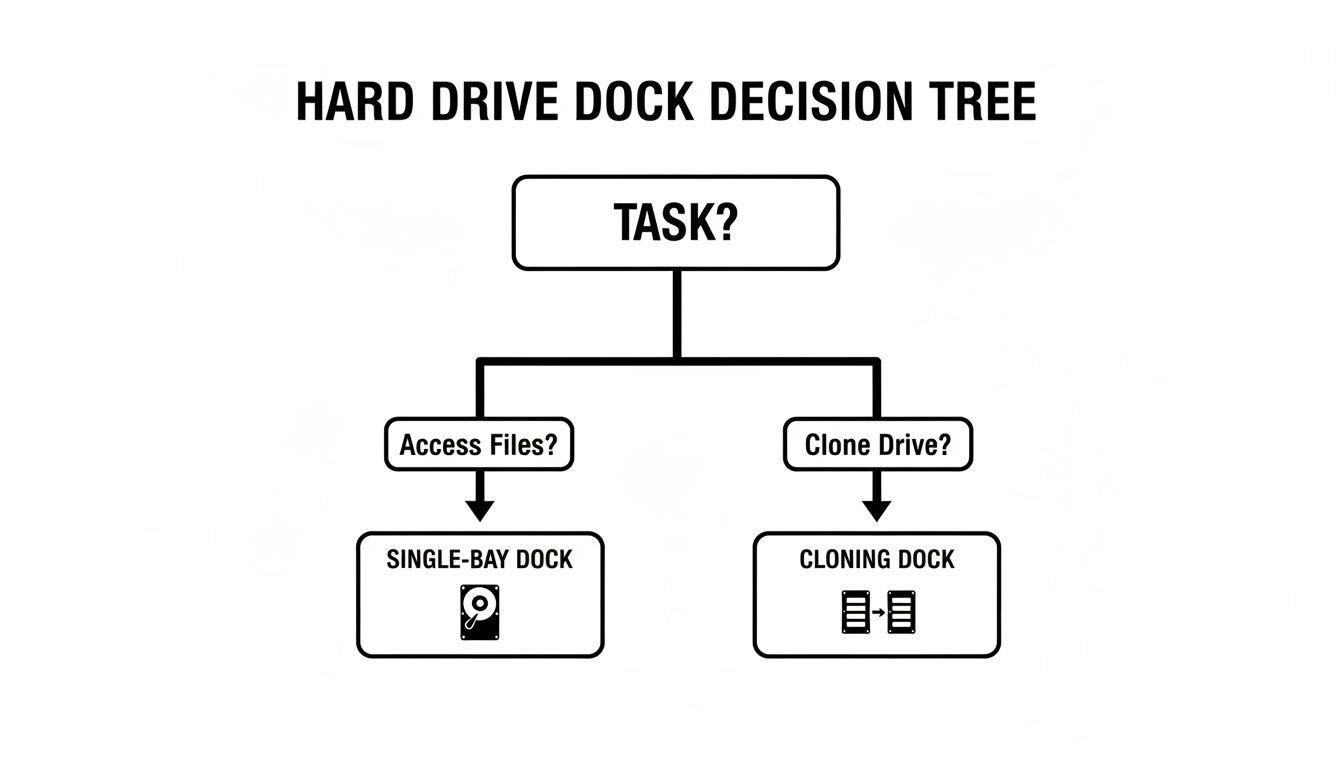
As you can see, if you just need to grab some files, a simple single-bay dock is all you need. But if you're looking to duplicate an entire drive, a dedicated cloning dock is the right tool for the job.
How to Use Your Hard Drive Dock Safely
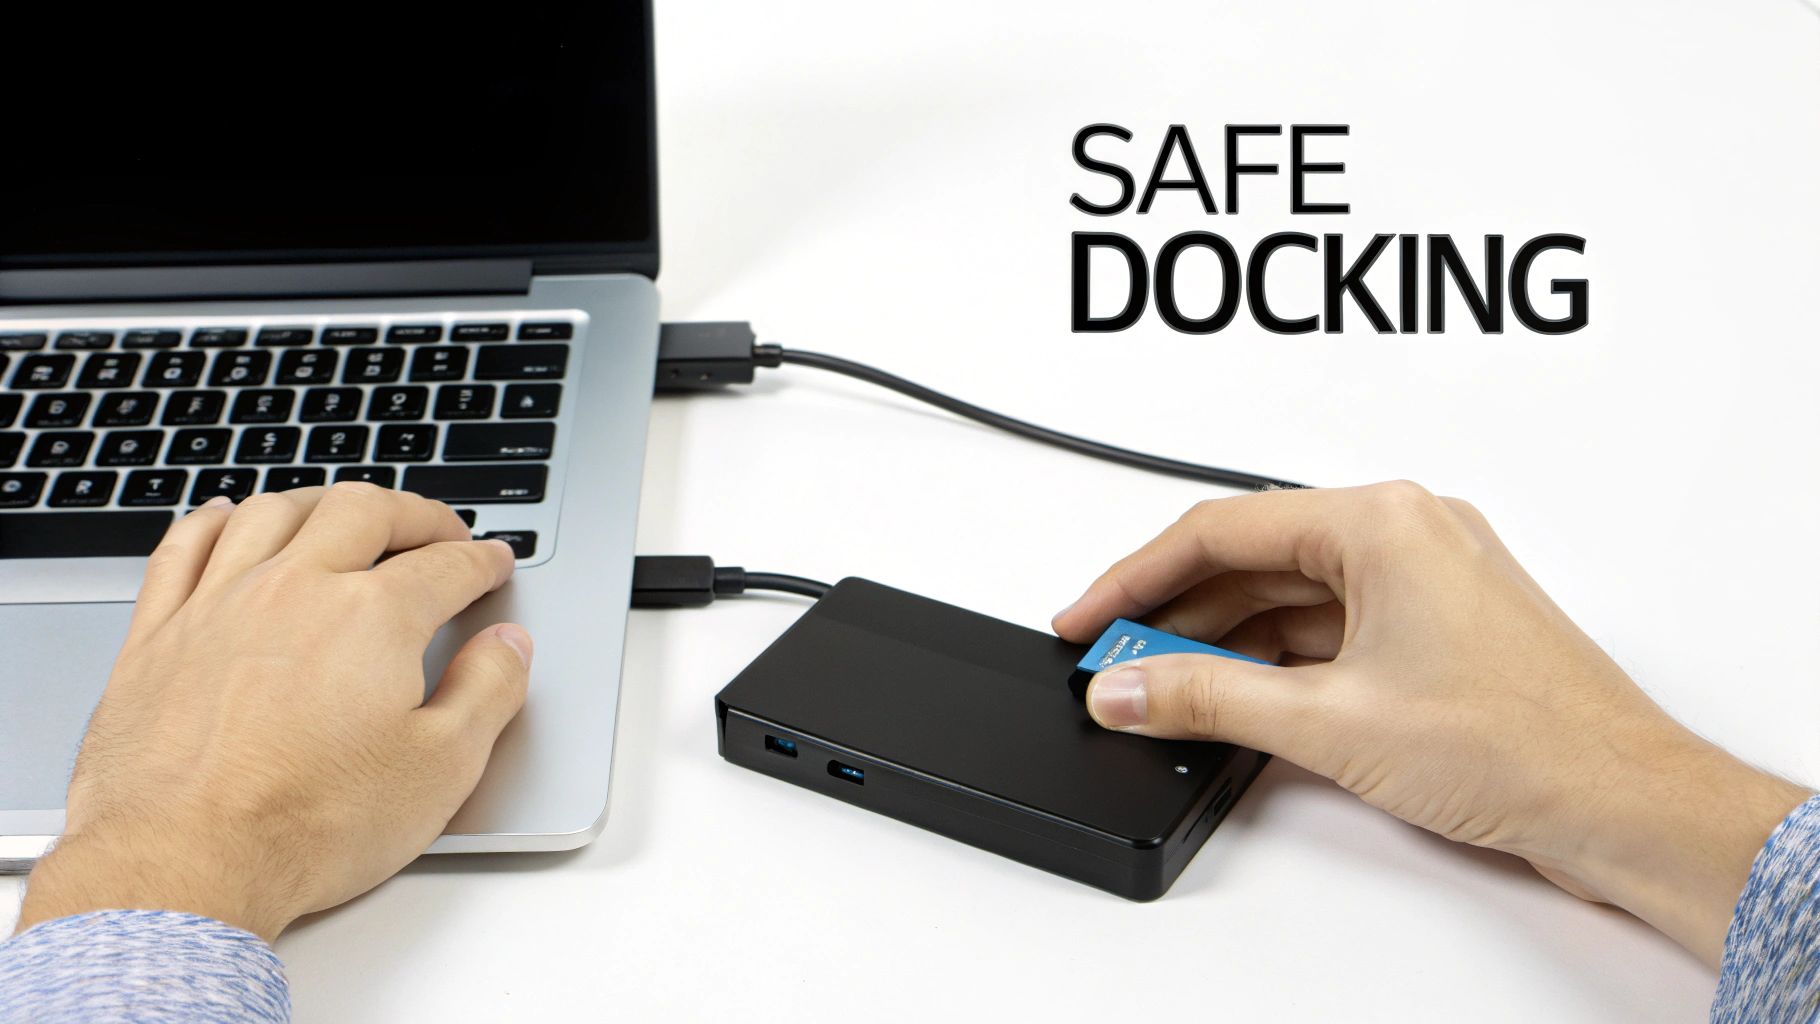
One of the best things about hard drive docks is how straightforward they are. There’s no complicated software to install or drivers to hunt down. Your computer already knows what to do, so getting up and running is just a matter of plugging things in correctly.
Let's break down the simple steps to get your drive connected and your files showing up on screen.
Initial Setup and Connection
First things first, find a stable, flat spot for the dock near your computer, but leave it powered off for the moment.
- Plug in the Power: Connect the dock’s power adapter to a wall outlet and then to the dock. This is an easy step to forget, but it's essential for 3.5-inch desktop drives that need that extra juice to spin up.
- Connect to Your Computer: Take the USB or Thunderbolt cable that came with the dock and connect it to a free port on your computer.
- Insert the Hard Drive: Carefully slide your bare 2.5-inch or 3.5-inch drive into the slot. You'll feel it seat firmly into the connector. The SATA connectors are keyed to fit only one way, so you don't need to force anything.
- Power It On: Now, hit the power button on the dock. An indicator light should pop on, and you’ll likely hear the satisfying whir of the drive spinning to life.
Within a few seconds, your Mac or PC will automatically detect the drive. It will simply appear in Finder or File Explorer, ready to go—just like plugging in a USB stick.
Safely Handling and Managing Drives
Before you even pick up a bare drive, it's a great habit to ground yourself by touching a large metal object, like your computer case. This tiny action discharges any static electricity you've built up, protecting the drive's sensitive electronics from a potentially fatal zap.
Always hold the drive by its metal sides and try to avoid touching the green circuit board underneath. While the dock is running, it’s designed to allow for airflow, but make sure it isn't crammed into a tight space where it could overheat.
A crucial last step: When you’re done, always safely eject the drive in your operating system before you turn off the dock's power. This simple click prevents data corruption by ensuring all file transfers are complete.
Formatting and Erasing Drives
If you're working with a brand-new drive or want to reuse an old one, you’ll probably need to format it. Thankfully, your computer has built-in tools for this.
- On Windows: Open up Disk Management, right-click the drive you just connected, and choose “Format.”
- On macOS: Launch Disk Utility, select the new drive from the list, and click “Erase.”
Finally, once a drive has reached the end of its life, it's vital to securely wipe a computer hard drive to protect your data from falling into the wrong hands. For any Hamilton business or resident, this is a non-negotiable step to ensure your private information stays private.
Understanding Performance and Compatibility
Ever plugged in a new drive and wondered why your file transfers are moving at a snail's pace, not the lightning speed advertised on the box? The culprit is almost always a bottleneck somewhere in the chain. Your setup's performance is only as fast as its slowest component, whether that's the drive itself, the dock, or the USB port on your computer.
Think of it like a highway system. A brand-new SSD is a high-performance sports car, and a modern USB-C dock is a wide-open, five-lane expressway. But if you connect that expressway to an old, single-lane country road—like a slow USB 2.0 port on your computer—that sports car is going to be stuck crawling behind a tractor. Everything slows down.
This is particularly true when you look at the drives themselves. As we've detailed in our guide on the difference between an SSD vs HDD for gaming, modern solid-state drives are worlds apart from traditional spinning hard drives in terms of speed.
Matching Your Components for Optimal Speed
To really get the performance you're paying for, all your components need to be on the same page. Sure, you can plug a blazing-fast NVMe SSD into a basic USB 3.0 dock, and it will work. But you'll be leaving a ton of speed on the table because the USB 3.0 interface will max out long before the drive even breaks a sweat.
The reverse is also true. Hooking up an old 5400 RPM desktop hard drive to a fancy, top-of-the-line Thunderbolt dock won't magically speed it up. The drive's own mechanical limitations will always be the bottleneck. For the best results, the formula is simple: connect a fast drive (like an SSD) to a fast dock (USB-C or Thunderbolt) that's plugged into a matching high-speed port on your computer.
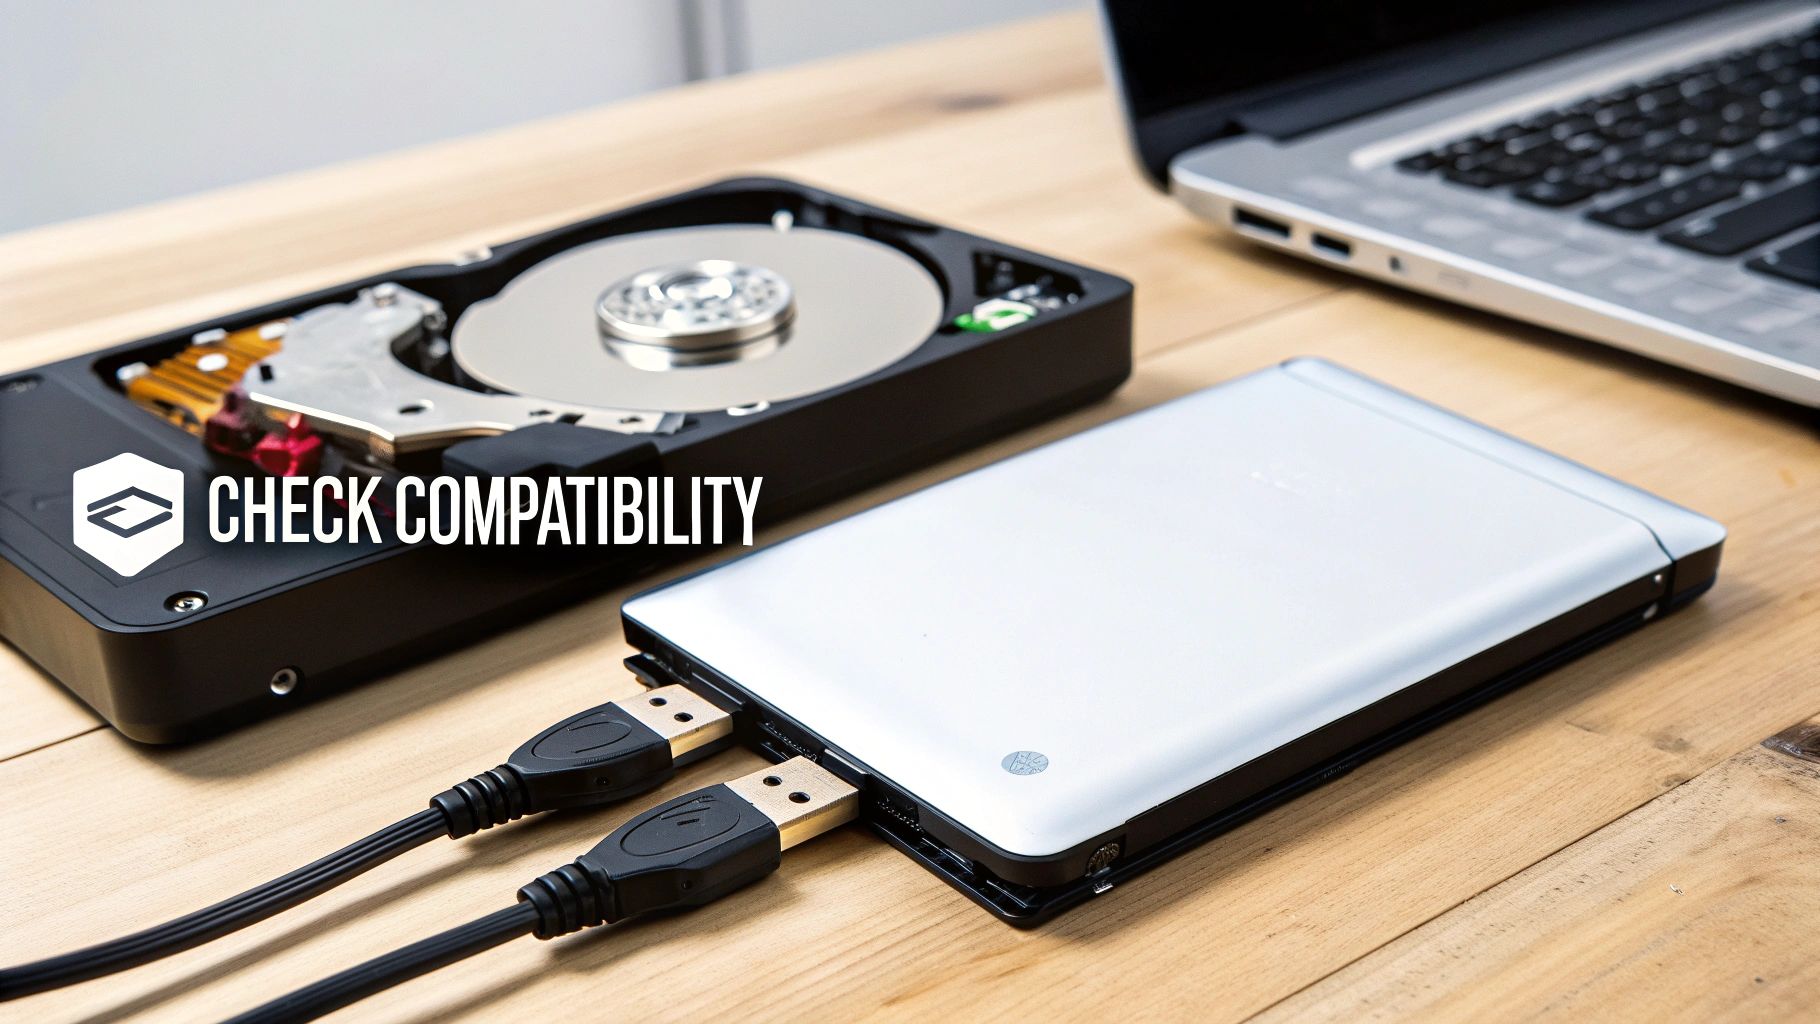
Critical Compatibility Checks You Cannot Skip
Beyond just speed, there are a few fundamental compatibility checks you absolutely need to make. Getting these wrong doesn't just mean slow speeds; it can mean the drive won't show up at all.
- Drive Interface: This is priority number one. Double-check that your dock supports the drive's specific connector. Is it SATA (for most 2.5" and 3.5" drives) or NVMe (for the newer M.2 SSDs)? They are not interchangeable.
- Power Requirements: Smaller 2.5" laptop drives are pretty efficient and can usually draw all the power they need straight from the USB cable. But the bigger 3.5" desktop drives are much thirstier and must be used with a dock that includes its own external power adapter.
- Computer Connection: Make sure your computer actually has the port the dock uses, whether it's the classic USB-A or the newer USB-C. If your dock isn't working right, it's often worth troubleshooting common USB port issues before assuming the dock is faulty.
The popularity of hard drive docking stations isn't just a niche tech trend; it reflects a real need for better data management. The global market for these devices was valued at around USD 1.21 billion in 2024, driven by the ever-growing demand for storage. Here in our Hamilton workshop, we've seen firsthand how a good USB-C dock can cut the time it takes to access a drive by 30-50% compared to the old way of opening up a computer case. They're just plain efficient.
When to Call in the Data Recovery Pros in Hamilton
A hard drive docking station is a fantastic tool, but it's important to understand its limits. Think of it as a translator, not a doctor. It can help your computer talk to a healthy drive, but it has absolutely no power to heal a drive that's physically damaged or on its last legs.
In fact, pushing a failing drive can be the worst thing you do. Trying to access it repeatedly can turn a simple recovery job into a case of permanent data loss.
So, when should you stop and call for help? The drive itself will usually tell you. If you connect a drive and hear anything out of the ordinary—clicking sounds, a grinding noise, or any kind of scraping—unplug it immediately. That’s the sound of a mechanical failure in progress. Every moment it stays on, you risk the internal parts literally scraping your precious data off the storage platters forever.
The same rule applies if the drive has been dropped or taken a hard knock. Don't even think about plugging it into a dock. The delicate components inside are almost certainly out of alignment, and giving it power is a recipe for disaster.
Red Flags: Stop and Get Professional Help
If you run into any of these situations, your next step shouldn't be another DIY attempt. It should be a call to an expert:
- Strange Noises: Any clicking, buzzing, or grinding is a major warning sign.
- The Drive is a Ghost: You can feel or hear it spinning, but it never shows up on your computer.
- Visible Physical Damage: The drive was dropped, got wet, or has any obvious external damage.
- Widespread Corruption: Files are unreadable, folder names are garbled, or your computer throws up constant errors when you try to access anything.
Using a docking station on a physically failing drive is like trying to drive a car with a seized engine. You're not going to get anywhere, and you're just going to cause more damage. These scenarios require a professional with specialized tools and a cleanroom environment to safely get your data back.
When you're facing these issues, the safest bet is to leave it to a specialist. For our neighbours and clients, we provide professional data recovery services in Hamilton, Ontario, where we can properly diagnose the problem and retrieve your files without further risk.
With so many people working from home or in hybrid setups around Hamilton, docking stations have become a desk staple. It's no surprise that market research shows North America makes up over 40% of the global docking station market. More than 60% of professionals in Southern Ontario now work in a hybrid model, which makes tools like hard drive docking stations essential for moving data between the office and home. You can read the full research about these market trends to see just how common this technology has become.
Common Questions About Hard Drive Docks
When you're just getting started with a new piece of tech, it’s natural to have a few questions. Let's tackle some of the most common ones that come up with hard drive docking stations so you can use yours like a pro.
Can a Docking Station Damage My Hard Drive?
It’s highly unlikely. A well-made, properly functioning docking station is designed to be a safe, neutral passthrough for your data. The real danger isn't the dock itself, but how you use it.
The biggest risk is yanking the drive out or cutting power while it's busy writing data. Always, always use the "Safely Eject" or "Eject" function in your operating system before you turn off the dock or remove the drive. This ensures all data transfers are complete and prevents corruption.
Do I Need to Install Special Software?
Nope! That’s the beauty of them. Modern hard drive docks are all plug-and-play.
Your computer, whether it's a Windows PC or a Mac, will see the dock and the drive inside it just like any other USB storage device. There are no drivers to hunt down or complicated software to install, which makes them incredibly easy to use right out of the box.
What's the Difference Between a Dock and an Enclosure?
This is a great question, and it comes down to purpose: temporary tool vs. permanent home.
Think of a docking station as a mechanic's test bench—an open-air setup for quickly swapping parts. An external enclosure is more like a permanent, protective case you'd put a single engine in to carry around safely.
A dock is for temporary, open-air access to various drives, perfect for data recovery or cloning jobs. An enclosure is designed to house one specific drive long-term, turning it into a portable unit you can toss in a bag. For more on protecting your files, our guide on how to backup computer files is a fantastic resource.
If you run into data troubles that a dock can't fix, or if you just need professional advice on the best way to manage your digital life, Klimka Computer Solutions is here to help. Visit our website to learn more about our services in Hamilton.
One Response
[…] If you want to dig deeper into the more advanced options, you can check out our detailed guide on hard drive docking stations. […]